If you’re one of the millions of Mac users, you’ve probably come across a few Mac features that have surprised you. According to the digital inclusion consultancy Digital Unite, macOS is considered easier to use than other operating systems such as Windows and Linux. Despite macOS’s ease of use, there are plenty of hidden features in the operating system that Mac users might not know about, like taking a screen recording on your Mac without additional software.
Here are 10 Mac features, tips and tricks you don’t want to miss out on.
Use Split View


Split View lets you have two apps running side-by-side on one Mac screen without having to resize either window. This saves you from switching between apps and losing your place if you’re working in two different programs.
Here’s how to enable and turn off Split View.
1. Open two apps and place them on opposite sides of the screen.
2. In the top left corner of one app’s window, hover over, or click, the green bubble to open a dropdown menu.
3. Select either Tile Window to the Left of Screen or Tile Window to the Right of Screen. That app will fill that side of the screen.
4. Click the other app on the opposite side of the screen for the app to fill the remainder of the screen.
To exit Split View, click the green bubble again or press Esc on your keyboard. This only exits one app from Split View — the other app will now be in full screen mode on its own Desktop.
Force quit with Option
If an app on your Mac has frozen or isn’t working properly, you can use the Option key to quickly force quit the app. Press and hold Option, then in the dock across the bottom of your screen click with two fingers the app causing you issues. Then click Force Quit to shut down the malfunctioning app.
Use Spotlight for conversions and simple math


Spotlight can make conversions and solve simple math problems.
Screenshot by Zach McAuliffe/CNETYou can use your Mac’s built-in Spotlight feature to perform searches as well as conversions or do simple math. To open Spotlight, press Command + space bar or click the magnifying glass icon in the top right corner of your screen in the menu bar. Then, type in a math problem or what you want to convert — like gallons to liters — and Spotlight will do the rest. No Google needed.
Try different shortcuts to take a screenshot
Screenshots are an easy way to maintain receipts for digital purchases or have extra copies of tickets for flights or sports games. On a Mac, there are a few different shortcuts to take screenshots.
Pressing Command + Shift + 3 takes a screenshot of your entire screen. This is a useful way to screenshot a video quickly so you don’t miss a frame.
Press Command + Shift + 4 turns your mouse into a crosshair. This lets you click and drag the frame for your screenshot part of your screen or an app’s window.
If you press Command + Shift + 4 and then press your space bar, your mouse turns into a camera icon and it can take screenshots of the window, application or other element your mouse is over. When your mouse is over a specific element for a screenshot, that element will have a light-blue filter over it to show it’s being selected. Taking a screenshot this way also makes the screenshot look cleaner and gives it a nice shadow.


Taking a screenshot of a window makes the image appear cleaner.
Screenshot by Zach McAuliffe/CNETEasily take a screen recording
Sometimes people learn better by watching a video than reading instructions. In these instances, taking a screen recording is better than any detailed list you might write.
Press Command + Shift + 5, then in the toolbar that appears near the bottom of your screen, click either of the icons highlighted below. The icon with the dashed border on the right will allow you to set a border to what you’re recording, and the icon on the left will record your whole screen. When you’ve selected which you want to use, click Record. To stop recording, click the Stop icon in your Menu bar across the top of your screen, or you can press Command + Control + Esc.


These two icons enable screen recording on Macs.
Zach McAuliffe/CNETSave screenshots and recordings in a different location
Screenshots and recordings save to your desktop by default, and they can quickly clutter your workspace. But you can choose a new location to save these files so you can keep your desktop nice and tidy. Here’s how.
1. Press Command + Shift + 5.
2. Click Options.
3. Under Save to, click one of the preselected destinations, like Documents or Messages, or Other Location to save your screenshot and recordings somewhere else, like a specific folder.
Easily preview files
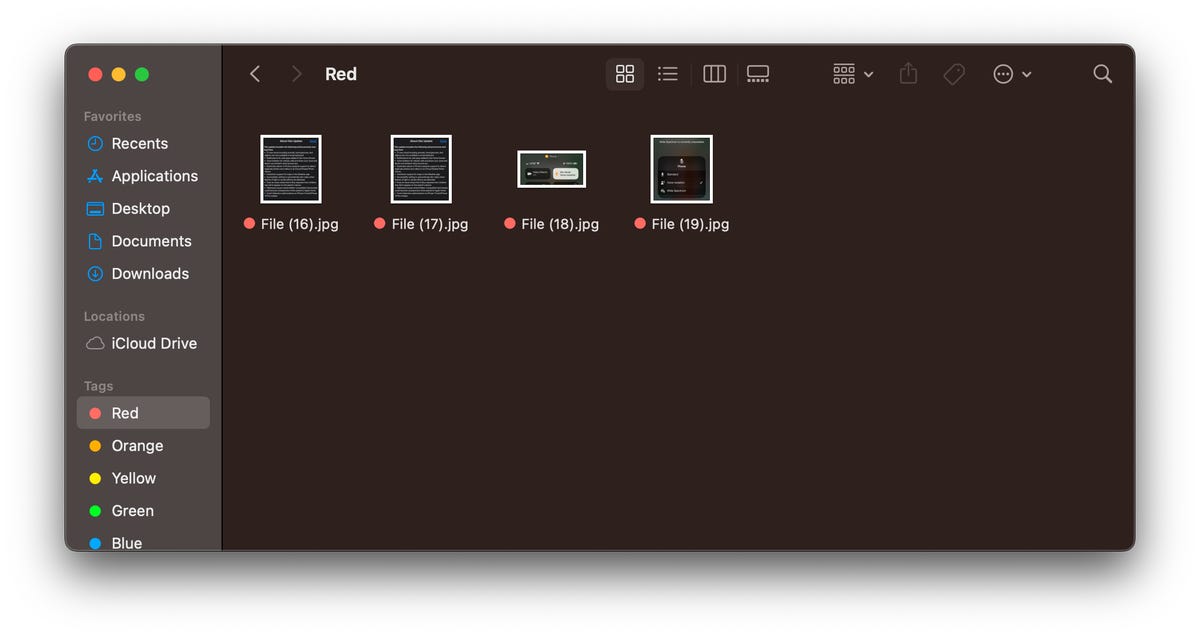
If all your files in Finder or on your Desktop are named something similar or look the same, you can preview your content without opening them. Click a file once and then press your spacebar. Your file is now viewable without opening the Preview app. To close the file, press your spacebar again.
You can also quickly view and exit a file by selecting a file, holding the spacebar to preview it and then releasing the spacebar.
Copy text while previewing files
If you’ve got a document or screenshot full of text, you can copy the content from those files while previewing them. Preview the file by selecting it and hitting the spacebar, then move your mouse over what you want to copy and your pointer will transform into the cursor icon. You can now select and copy text like you normally would. This can be especially helpful if you’ve taken a text-heavy screenshot, like a recipe, and want to convert it into a document for better organization.
Write with emoji online and in apps


You can use the emoji keyboard in more places than just your iPhone.
Zach McAuliffe/CNETEmoji are a fun way to communicate with people in text, online chats and comments. Most people know how to access their emoji keyboard on their iPhone, and you can access the same keyboard on your Mac, too. You can use the emoji keyboard in certain apps, like Notes, social media chats online and search tools, like Google. However, this doesn’t seem to work on certain sites, like Google Docs.
To access the emoji keyboard in most places on your Mac, click into a text box or other location you’d type a message and press either Function — the Fn key — or Control + Command + spacebar. Both will pull up your emoji keyboard where you can search for the emoji you want, as you would on your phone.
Easily rename files
Renaming files can help keep your folders organized and easily searchable. To easily rename items, select a file and press Return. The file name will be highlighted and you can start typing your new file name.
For more Apple news, check out what’s new on your iPhone with iOS 16.4, the highs and lows of Apple’s Classical Music app and the rumors around Apple’s AR/VR headset.

