Streaming devices are now the norm, along with platforms like Netflix, Hulu, Max and other streaming services that enable us to connect and watch TV with convenience. While there are top-quality options from Apple, Roku, Google Chromecast and Amazon, it’s essential to be aware that these devices track your viewing habits in the background, despite their amazing features.
Every major smart TV streaming platform captures your viewing data. Makers of software and hardware (from your new streaming stick to your TV itself) use that data to “improve” the products and services they offer, by tailoring recommendations and the ads they show you, for example. While that’s potentially frustrating, ads do help keep the price down when you’re buying a new streaming stick.
While we’ve previously covered privacy settings for the TVs themselves, for this story we checked out all of the latest software on streaming devices from Amazon, Roku, Google and Apple.
Here’s what we found and what you can do about it on your respective new streaming players.
Amazon Fire TV Stick
Amazon told CNET that it collects limited information about customers’ use of third-party apps on Fire TV. “We collect data on the frequency and duration of use of apps on Fire TV (i.e., when a customer opens or closes an app), which helps with service and device improvements. We don’t collect information about what customers watch in third-party apps on Fire TV.”
Amazon’s privacy policy says that your Amazon device also “collects data about your use of the device and its features, such as your navigation of the home screen [and] selection of device settings (such as device language, display size, Wi-Fi and Bluetooth options).”
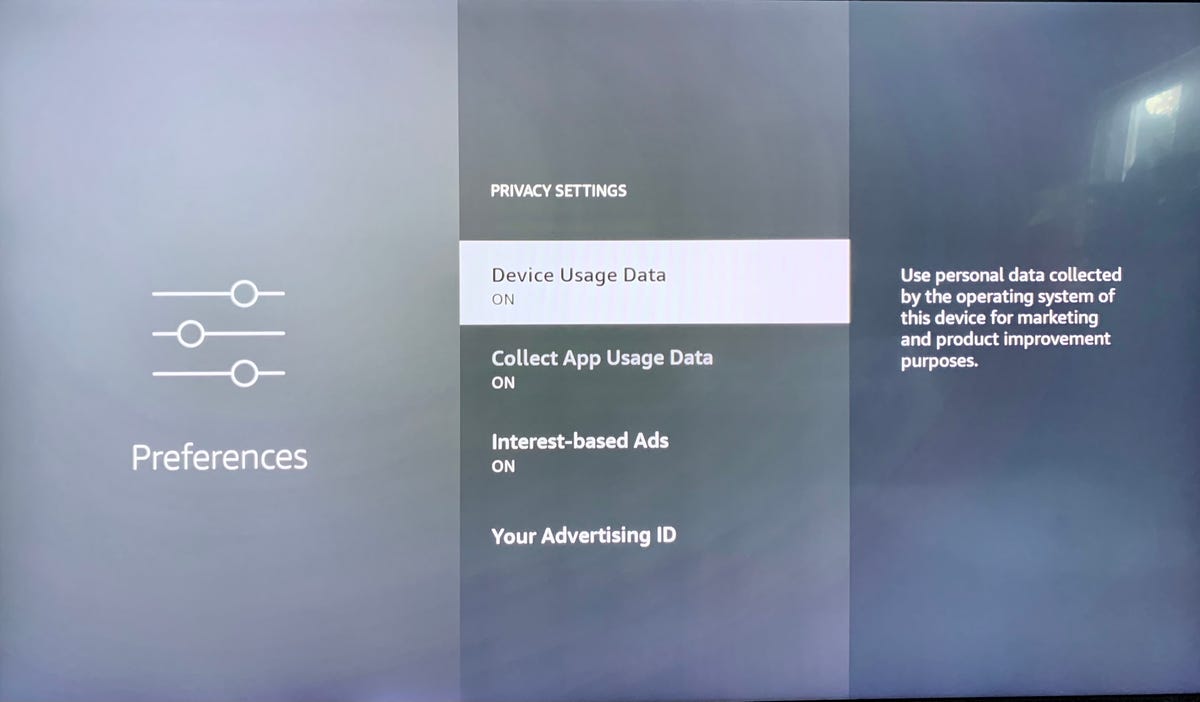
Here’s how you limit the amount of data Fire TV collects. All settings can be found by going to Settings, then Preferences, then Privacy Settings.
- Choose Device Usage Data and turn this setting off.
- Go to Collect App Usage Data and turn this setting off.
- Select Interest-based Ads and turn this setting off.
Now, your Amazon Fire TV device will not be able to track your data for marketing purposes or be able to look at the frequency and duration of your usage of downloaded apps. It will also not give you targeted advertising, but it will still have ads. For more details check out Amazon’s privacy settings FAQ.
Google Chromecast with Google TV
Google has one privacy policy across the company’s products, which details the data it collects to sell ads or recommend other content such as YouTube videos.
The data collected includes terms you search for, videos you watch, views and interactions with content and ads, voice and audio information when you use audio features, purchase activity, people with whom you communicate or share content, activity on third-party sites and applications that use our services.
Google says that Google Chromecast as a platform does not perform ACR or monitor what specific content users are watching.
Here’s how to control data on the Google Chromecast with Google TV.
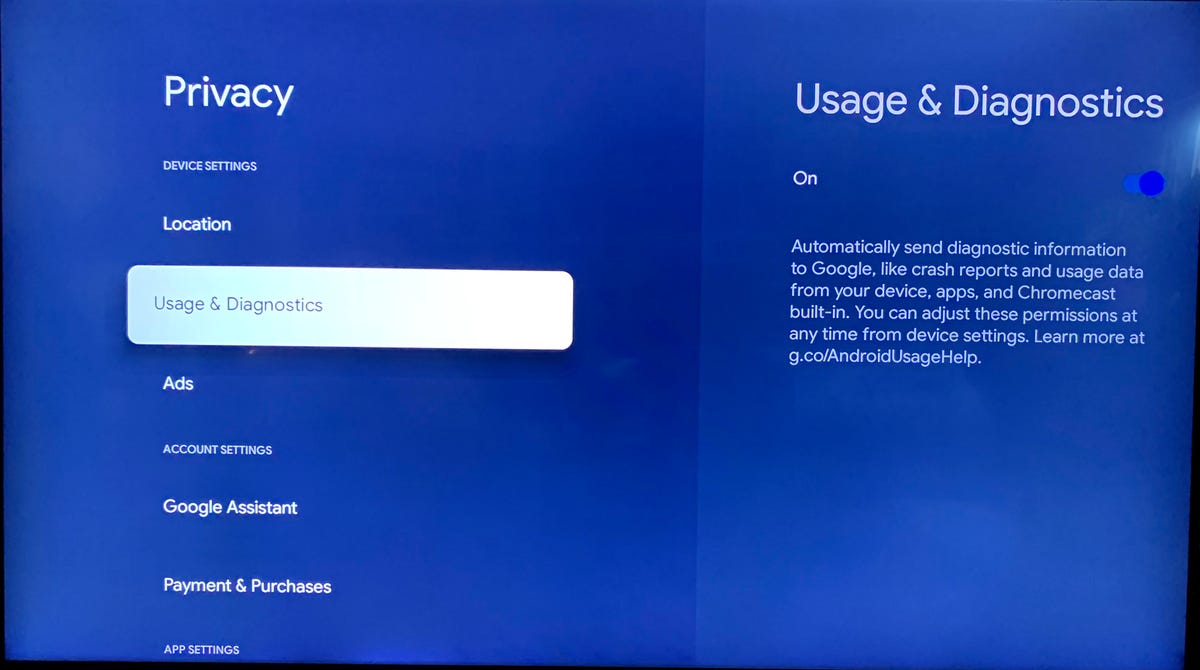
- Head to Settings and scroll down to the section labeled Privacy. There you can access settings for Location, Usage and Diagnostics and Ads. There are also sections for account settings that feature Google Assistant as well as Payment and Purchases. Finally, the section has app settings where you can control App Permissions, Special App Access and Security and Restrictions.
- Click Usage and diagnostics and make sure that the tab is switched off. This means that you are no longer sending diagnostic info to Google.
- Click Ads, and Opt Out of Ads Personalization, to keep apps from using your ID to build personalized ad profiles.
- To manage other data Google has on you, such as YouTube and search histories and web and activity data, head to myactivity.google.com.
Roku
Roku’s privacy policy states that the company will collect “your search history, search results, audio information when you use voice-enabled features, channels you access (including usage statistics such as what channels you access, the time you access them and how long you spend viewing them), interactions with content and advertisements, and settings and preferences.”
Roku says that it shares data with advertisers “including ads that you view within Roku’s Channels and Third-Party Channels, as well as ads included in content that you view through your Roku TV’s antenna and connected devices.”
Here’s what you need to do to limit or disable some of the tracking.
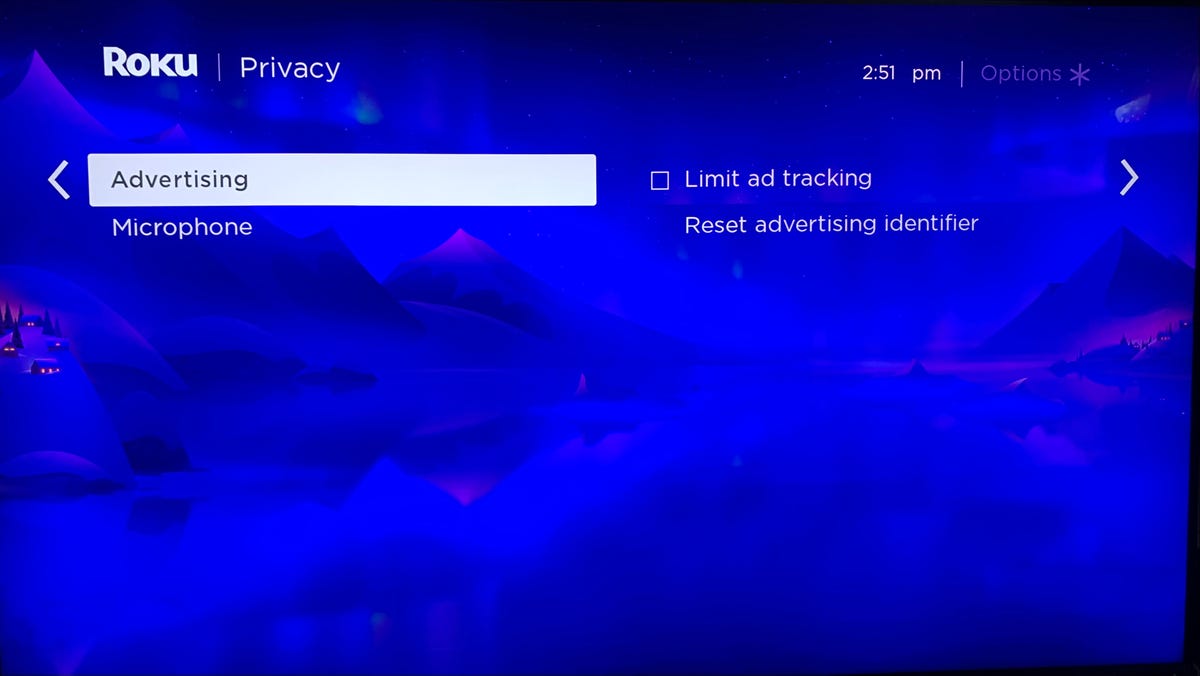
- From the main Roku menu, open Settings and head to Privacy.
- For Advertising, make sure that the box Limit ad tracking is checked. This stops Roku from personalizing ads and sharing viewing data from streaming channels for the purpose of measurement. Roku will let channel providers know that you prefer not to have personalized ads, but according to Roku, it is up to the providers if they honor your preference or not. Likewise, “Limit Ad Tracking” will not stop individual channels, like Hulu or Netflix, from collecting their own data on your usage or passing that info on to other parties.
- For those Roku devices that come with an embedded microphone in the remote, you can go to Microphone and then Channel Microphone Access to choose how a channel gains access to the microphone. You can always allow them access, never allow them access or have a prompt pop up and ask for permission to access the microphone. With the Channel Permissions button, you can manage the permissions for each individual channel.
Apple TV
Apple’s privacy policy says that the company collects information from your Apple ID mainly so that you can seamlessly pick up where you left off on other devices. The information that it tracks includes “what content you’re playing, when you played it, the device you played it from and where exactly in the content you paused or stopped watching. We also collect a detailed history of all playback activity for Apple TV channels and Apple TV Plus.”
It also states that the company does share some information with partners that “work with Apple to provide our products and services, help Apple market to customers and sell ads on Apple’s behalf to display in the App Store and Apple News and Stocks.”
Unlike the others on this list, Apple always asks if you want individual apps to track your usage the first time that you use them. You can prevent each app from seeing your data by clicking no every time this pops up.
Apple also has some more privacy settings that you can change. Here’s how to find them:
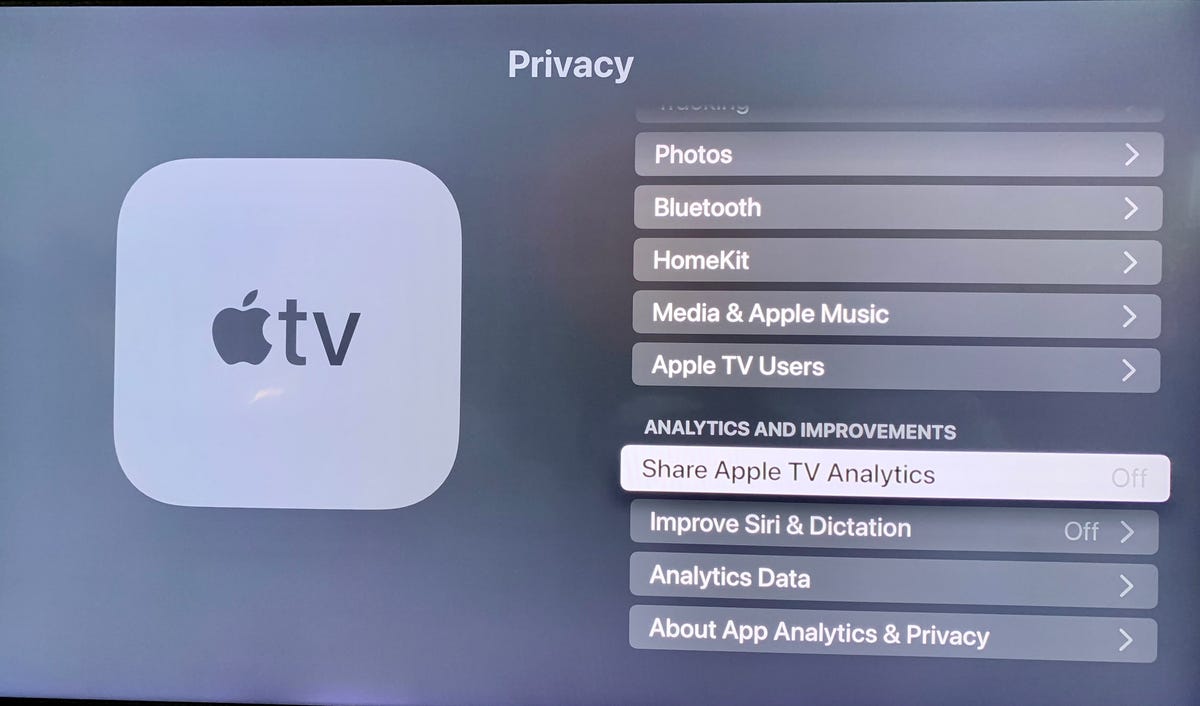
First, you’ll have to find and click on the settings icon. Hit the General tab, then scroll down to Privacy. The Privacy menu features Location Services, Tracking, Photos, Bluetooth, HomeKit, Media and Apple Music as well as Apple TV Users.
- Click on Tracking and make sure that Allow Apps to Ask to Track is On.
- Go back to the Privacy menu. You will see a separate section called Analytics and Improvements.
- Change Share Apple TV Analytics to Off.
- Change Improve Siri and Dictation to Off.
You’ve now limited Apple from tracking your analytics and using your data to improve Siri or dictation.