You don’t have to spend a fortune for a decent set of noise-canceling earbuds. And with solid sound quality, active noise cancelation and a transparency mode, the Beats Studio Buds are a great option to consider. Right now, they are back on sale at Amazon with $50 off their usual price and a variety of colors to choose from. At $100, they’re down to a 2023 low price and just $10 more than we saw during holiday sales late last year.
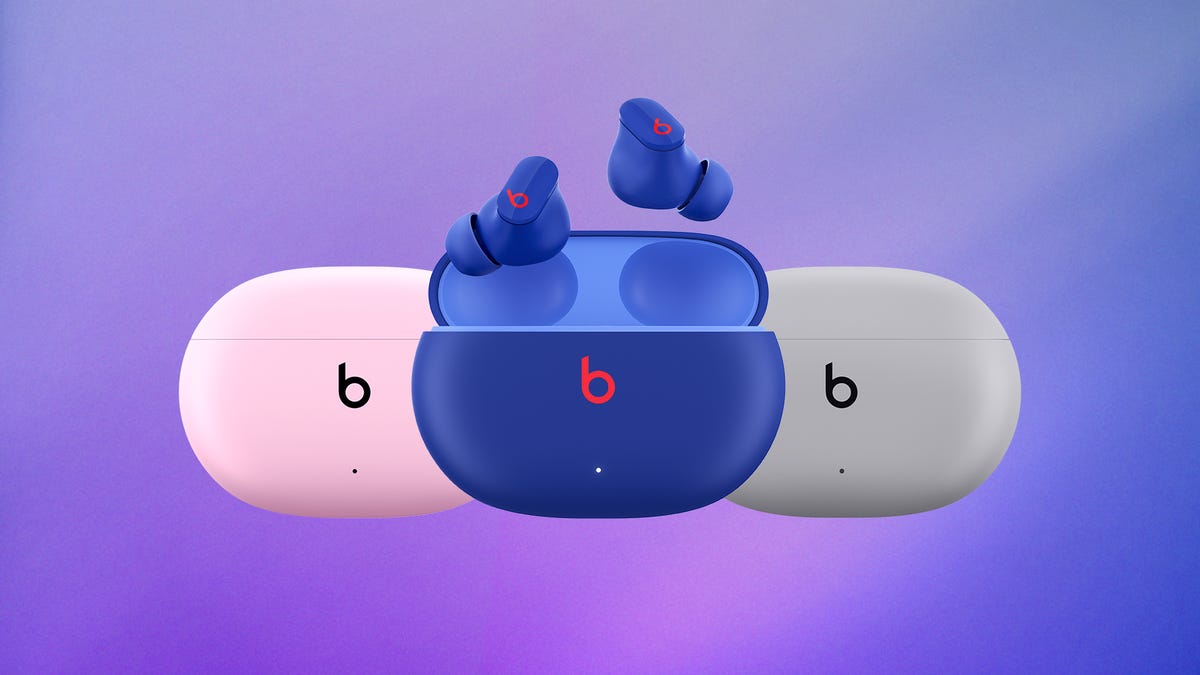
Beats Studio Buds are small, lightweight, comfortable to wear and fit most ears securely. Despite being made by Apple these days, Beats products work great with both iPhones and Android phones and there are plenty of features to love, including quick pairing and sound quality that CNET’s David Carnoy said beats out AirPods Pro and Powerbeats Pro in his review.
Unlike some other Apple-made Beats products, the Studio Buds lack a few of the fanciest features like in-ear detection and the ability to pair to all of your Apple devices via iCloud and switch between them automatically. That probably won’t be a deal-breaker for most folks, especially given the price differential between the Studio Buds and something like the AirPods Pro.
The Beats Studio Buds provide up to 8 hours of listening time on a single charge, with up to 24 hours when combined with the charging case. They are also IPX4-rated sweat and water-resistant, so they’re a solid option to use on your commute or at the gym.
And if the Studio Buds aren’t quite the right fit for you, check out the other Beats headphones deals currently available.