Apple released iOS 16.4 beta 3 to public beta testers Wednesday, about a week after the company released the second iOS 16.4 public beta. This third beta means the wide unveiling of iOS 16.4 is probably close at hand. Beta testers can now try out new iOS features, like new emoji and updates to Apple Books.
These features are available only to people who are a part of Apple’s Beta Software Program. New iOS features can be fun, but we recommend downloading a beta only onto something other than your primary phone, just in case the new software causes issues. Apple provides beta testers with an app called Feedback. The app lets testers notify Apple of any issues in the new software so the problem can be addressed before general release.
Here are some of the new features testers can find in the iOS 16.4 betas.
Apple ID and beta software updates
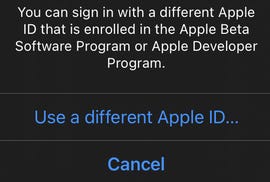
The latest beta lets you sign into another Apple ID to access other beta software.
Zach McAuliffe/CNETWith the third iOS 16.4 beta, developers and beta testers can check whether their Apple ID is associated with the developer beta, public beta or both. If you have a different Apple ID, like one for your job, that has access to beta updates, iOS 16.4 beta 3 also lets you switch to that account from your device.
Apple Books updates
The iOS 16.4 beta 2 update brings the page-turn curl animation back to Apple Books, after it was removed in a previous iOS update. Before, when you turned a page in an e-book on your iPhone, the page would slide to one side of your screen or it would vanish and be replaced by the next page. Beta testers can still choose these other page-turn animations in addition to the curl animation.
With iOS 16.4 beta 3, a new popup appears when you open Apple Books for the first time after downloading the update. It lets you know you can change your page-turn animation, theme and more.
31 new emoji
The first iOS 16.4 beta software brought 31 new emoji to your iOS device. The new emoji include a new smiley; new animals, like a moose and a goose; and new heart colors, like pink and light blue.
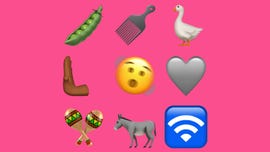
Some of the new emoji released in the first iOS 16.4 beta.
Patrick Holland/CNETThe new emoji all come from Unicode’s September 2022 recommendation list, Emoji 15.0.
Apple Podcasts updates
The first beta brought a few changes to how you navigate Apple Podcasts. Now you can access podcast channels you subscribe to in your Library. You can also use Up Next to resume podcast episodes you’ve started, start episodes you’ve saved and remove episodes you want to skip.
Preview Mastodon links in Messages
Apple’s first iOS 16.4 beta enabled rich previews of Mastodon links in Messages. That’s good because Mastodon saw a 400% increase in the rate of new accounts in December, so you might be receiving Mastodon links in Messages.
Music app changes
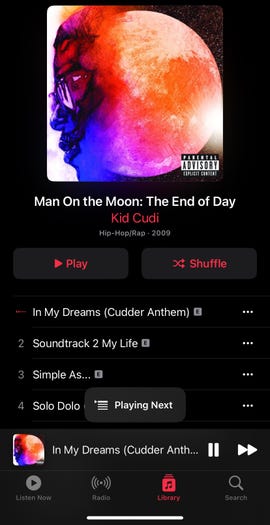
A small banner appears at the bottom of the screen when you choose to play a song next in Apple Music in the frst iOS 16.4 beta.
Zach McAuliffe/CNETThe Music interface has been slightly modified in the first iOS 16.4 beta. When you add a song to your queue, a small banner appears near the bottom of your screen instead of a full-screen pop-up.
See who and what is covered under AppleCare
Starting with iOS 16.4 beta 1, you could go to Settings to check who and what devices are covered on your AppleCare plan. With iOS 16.4 beta 2, this menu will show you a small icon next to each device that’s covered under AppleCare.
Focus Mode, Shortcuts and always-on display
If you have an iPhone 14 Pro or Pro Max, iOS 16.4 beta 1 lets you enable or disable the always-on display option with certain Focus Modes. A new option in Shortcuts called Set Always on Display was also added, in addition to new Lock Screen and Set VPN actions.
New Apple Wallet widgets
You can add three new order-tracking widgets for Apple Wallet to your home screen with the first iOS 16.4 beta. Each widget displays your tracking information on active orders, but the widgets are different sizes: small, medium and large.
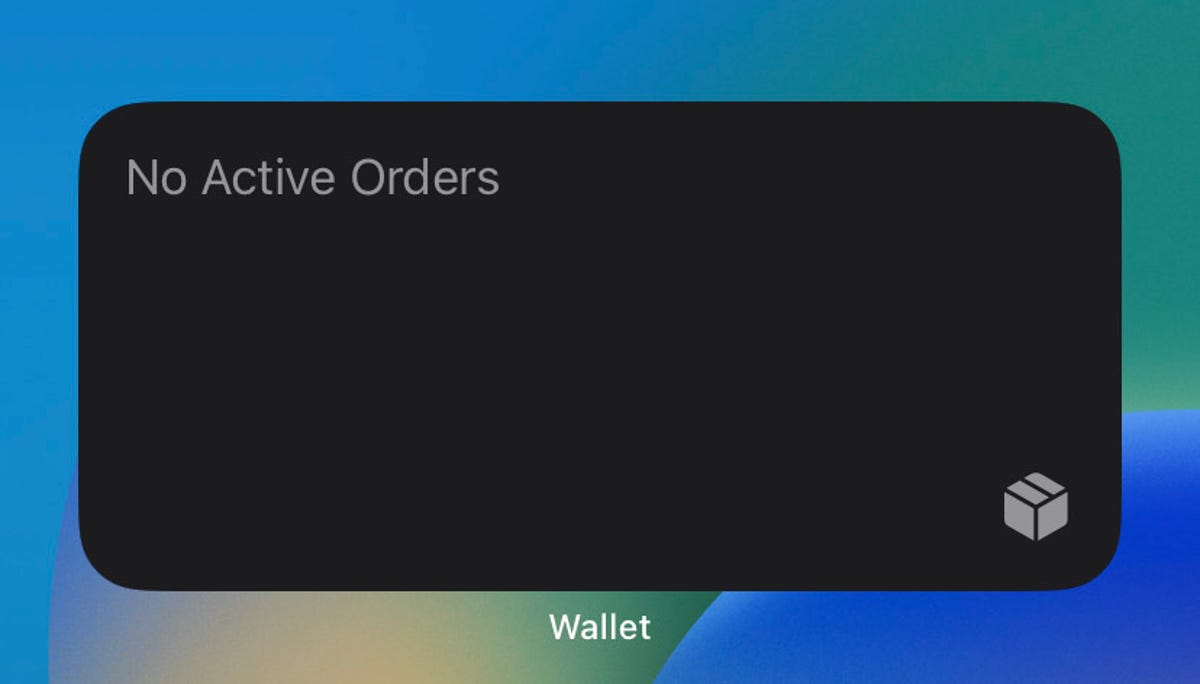
The medium-size Apple Wallet order tracking widget takes up three tile spaces on your iPhone’s screen.
Zach McAuliffe/CNETMore accessibility options
The first beta update added a new accessibility option, too. The new option is called Dim Flashing Lights, and it can be found in the Motion menu in Settings. The option’s description says video content that depicts repeated flashing or strobing lights will automatically be dimmed. Video timelines will also show when flashing lights will occur.
New keyboards, Siri voices and language updates
The first iOS 16.4 beta added keyboards for the Choctaw and Chickasaw languages, and there are new Siri voices for Arabic and Hebrew. Language updates have also come to Korean, Ukrainian, Gujarati, Punjabi and Urdu.
There’s no word on when iOS 16.4 will be released to the general public. There’s no guarantee these beta features will be released with iOS 16.4, or that these will be the only features released with the update.
For more, check out how to become an Apple beta tester, what was included in iOS 16.3.1 and features you may have missed in iOS 16.3.