This story is part of 12 Days of Tips, helping you make the most of your tech, home and health during the holiday season.
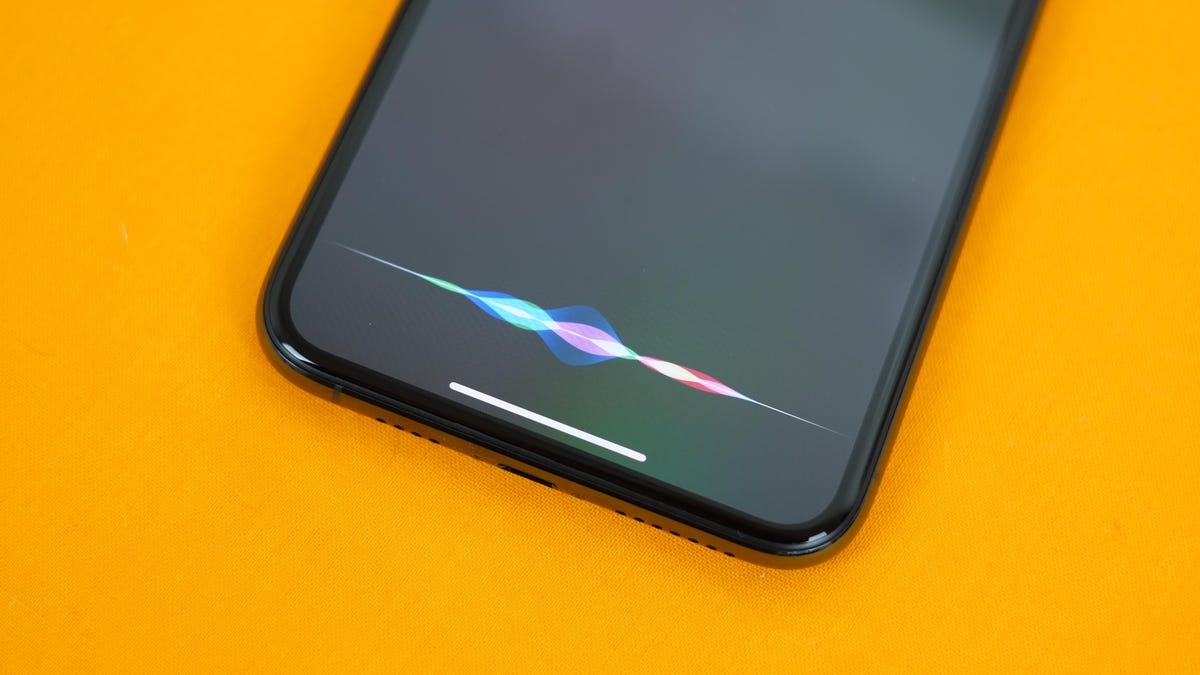
You can use your voice to do so much on your iPhone. Thanks to Siri, you can do really basic things like send a text message and get directions or you can get more complicated and use your voice to pull up all the movie showtimes for your local theater — no hands needed.
Apple is always adding new commands to Siri, and with the somewhat recent release of iOS 16, there’s one particular addition I’m most excited about.
You can finally use your voice to restart your iPhone.
Anytime I notice a software issue with my iPhone, like applications automatically force-closing, a laggy operating system or unresponsive features, I reboot my device to hopefully fix these bugs. And many times it does.
However, the only way to restart my iPhone is by either turning the phone off and on or force-restarting it. Both of these options require the use of my hands, and take several steps, but now it’s so much easier thanks to iOS 16. If you’re having any issues and need to reboot your device, here’s how to do it with just your voice.
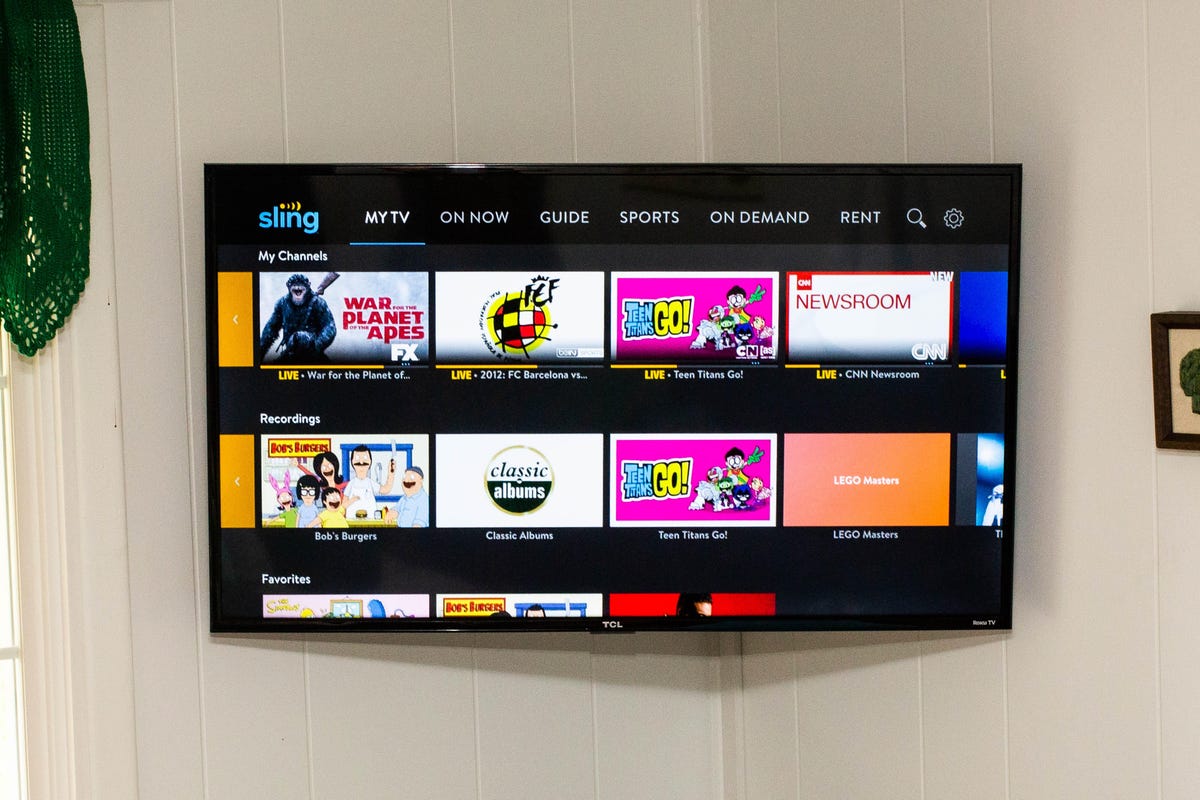
Restart your iPhone using this simple voice command
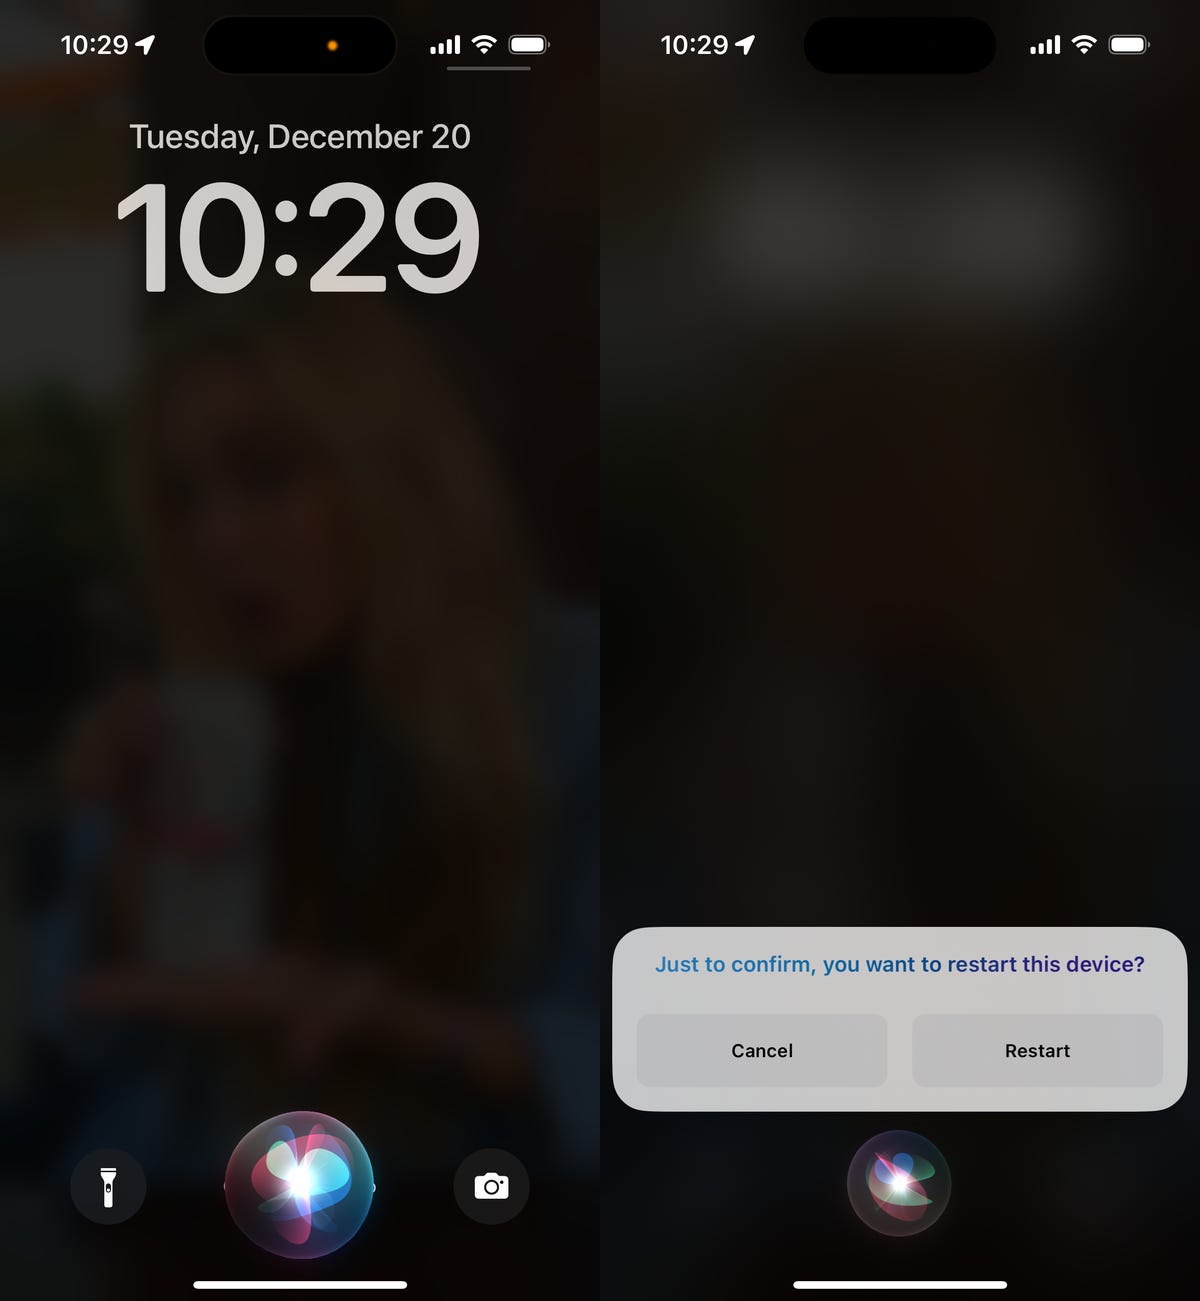
As long as you have the “Hey Siri” feature enabled, which constantly listens for the two-letter command, you can say the following to restart your iPhone:
First, say “Hey Siri” to activate Siri.
Next, say “Restart iPhone.”
And last, say “Yes” when Siri prompts you to confirm.
Your iPhone will then restart. You’ll need to enter your passcode to unlock your screen.
You can also tap on Restart to confirm.
Nelson Aguilar/CNET
You can also use this new feature on the iPad, but you’ll need to be running at least iPadOS 16.1.
If you don’t have “Hey Siri” enabled, you can to Settings > Siri & Search and toggle on Listen for “Hey Siri.” If you don’t want your iPhone listening for this command all the time, you can always just activate Siri by holding down on the side button for a second, although this does defeat the whole hands-free aspect of restarting your iPhone.
To give you a shortcut to all the best gaming laptops coming out of CES 2023, we’ve rounded them up for you below. Interested in the other cool gaming gear being announced at the annual tech conference? You’ll find those just past the laptops so scroll on down.
Gaming laptops from CES 2023
Josh Goldman/CNET
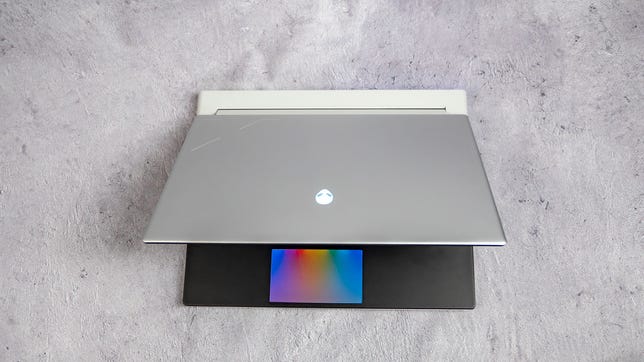
Dell G series gaming laptop
It’s weird to write this, but a couple of the most exciting gaming laptops at CES are budget models. Dell’s new G15 and 16-inch G16 have chunky, angular bodies with two-tone designs. The G15 features a choice of a 15.6-inch 1,920×1,080-pixel resolution with a 120-hertz refresh rate and 250-nit brightness or 165Hz with sRGB 100% color coverage and 300-nit brightness. The 16-inch G16 changes to a 16:10 aspect ratio with a 2,560×1,600 resolution and either a 165Hz (100% sRGB) display panel or an optional 240Hz (100% DCI-P3) display. And, of course, they’ll be loaded with the latest from Intel and Nvidia.
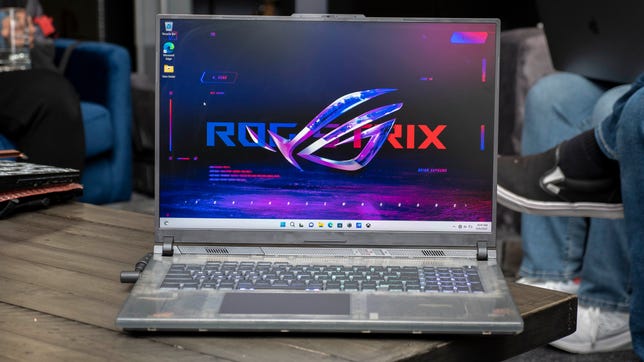
Over the last several years, laptop makers have whittled down the frames, aka bezels, around laptop displays. That, along with internal components getting smaller and cooling systems getting better, has allowed them to use larger displays in smaller bodies. That means you can now get a 16-inch laptop in a body size that once housed a 15-inch display. And now you’ll be able to get an 18-inch display in a body that’s roughly the same size as an older 17.3-inch laptop. For the ROG Strix Scar 18 (it also comes in a 16-inch size), that extra size gave Asus more room for higher-performance components.
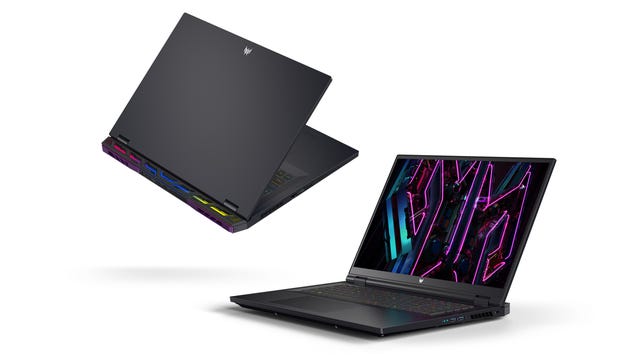
Like the ROG Strix Scar, The Predator Helios gaming laptops come in 16- and 18-inch sizes and feature the latest 13th-gen Intel Core processors, Nvidia GeForce RTX 40 series graphics, enhanced cooling and beautiful big displays, plus a whole lot of lights.
Included among its three panel options is a Mini LED panel with a 250Hz refresh rate, 100% P3 color gamut and a peak brightness of over 1,000 nits. The new designs also use mini-LEDs for the backlit keyboard with deep 1.8-millimeter key travel. The per-key lighting uses less power while giving the keys bright, uniform color. A customizable RGB light bar also runs across the top of the back vents.
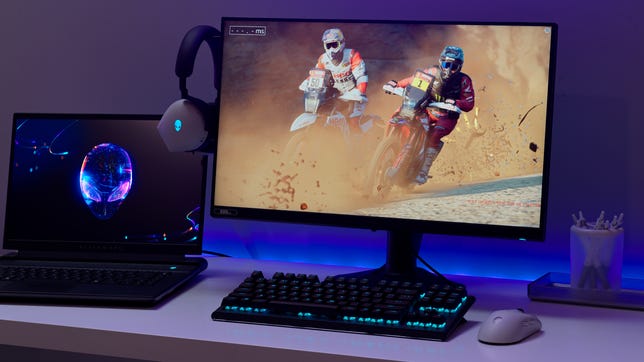
While Alienware will also have an impressive 18-inch laptop, the m18, the standout from its announcements is the sleek little Alienware x14. The company has updated its product ID again, called Legend, flattening the back to make it more comfortable to carry as well as an updated nose so it’s easier to open. It has a new foot design to allow for better cooling and greater comfort when used on your lap. The x14 has a taller 16:10 display, Dolby Atmos and Dolby Vision support, a full-HD webcam and a thermal material on the CPU and GPU for optimized heat dissipation. But overall, it just looks amazing — right down to its RGB touchpad.
Now playing:Watch this:Massive 18-inch Gaming Laptop Leads New Alienware Lineup
5:53
Asus
Asus Chromebook Vibe CX34 Flip
Asus was one of the first to launch a Chromebook made for cloud gaming, and now it’s launched its second, the CX34 Flip. It’s an all-white two-in-one Chromebook with color-blocked WASD keys and RGB backlit keyboard. It has a 16:10, 144Hz WUXGA (1,920×1,200) display and fast Wi-Fi 6E wireless. Paired with a garaged stylus, this Chromebook should be good for work, school or play. It’ll be available with up to a 12th-gen Intel Core i7 processor and 16GB of memory. It’s expected to be available later in Q1.
Gaming gear from CES 2023
Of course, gaming laptops aren’t the only PC gaming devices being announced at CES. Here’s a quick rundown of the best peripherals and accessories we’ve seen from the show so far.
Alienware
Alienware’s 25-inch AW2524H gaming monitor
Alienware’s display isn’t the first to hit 500Hz refresh rate, the speed at which the screen can completely redraw — that honor went to the Asus ROG Swift 500Hz in May 2022. But that model’s screen is based on TN, a technology renowned for its speed but not much else. Alienware’s model is based on IPS, which has better color, better viewing angles and higher brightness, and it’s the first time we’ve seen IPS pushed this hard. It’s also a rarefied speed that only a pro esports player would appreciate.
The new 540Hz ROG Swift PG248QP, a 24-incher unveiled at CES, uses E-TN (the “E” is for “esports”) technology Asus used in its previous 500Hz speed champion. Twisted nematic LCDs can hit high refresh rates but don’t have the color, brightness or viewing angles of other display types like OLED and IPS. But if you need smooth, fast, low-latency performance more than other monitor qualities, this ROG Swift might be worth it.
CES is when gaming-monitor companies bring out the big guns — and few are bigger than the new 57-inch Samsung Odyssey Neo G9, a curved, DisplayHDR 1000 model. Teased by AMD during its RX 7000-series GPU launch in November as the first monitor announced with DisplayPort 2.1 support, the Neo G9 has 7,680×2,160-pixel resolution. The high resolution plus HDR and fast 240Hz refresh rate make the high-bandwidth DP 2.1 essential, even though it’s not a full 8K (it’s a 32:9 aspect ratio).
HP announced a series of 3D-printed add-ons at CES to customize and personalize the HyperX’s keyboards, mice and headsets. What makes this line interesting is that the keycaps and headphone stands are all produced on HP’s industrial color 3D printers. Using powdered nylon, they’re more advanced than the basic PLA plastic material used by most home 3D printers, but still nontoxic and environmentally friendly.
The NFL’s final weekend kicks off with two games on Saturday, with playoff seeding at stake in the first game and a division title up for grabs in the other. The playoff picture is muddier than usual this year heading into week 18 with the status of the Bills-Bengals game still unknown. The game was postponed after Damar Hamlin’s frightening injury last Monday night. Hamlin remains in critical condition at the time this was written on Wednesday.
The Bills and Chiefs are vying for the top seed in the AFC playoffs and home field advantage. The 12-3 Bills are currently a half game behind of the 13-3 Chiefs and travel to Las Vegas to play the Raiders on Saturday (4:30 p.m. ET/1:30 p.m. PT). Then on Saturday night, the 8-8 Jaguars host the 7-9 Titans (8:15 p.m. ET/5:15 p.m. PT) for the AFC South title. Both games on Saturday will be shown nationally on ABC, ESPN and ESPN Plus.
Trevor Lawrence and the Jacksonville Jaguars can take the AFC South title with a win at home against the Tennessee Titans on Saturday night.
Courtney Culbreath/Getty Images
The remaining 28 teams will play their final games of the regular season on Sunday afternoon on CBS and Fox and Sunday night on NBC. Here’s what you need to know to stream the games live this weekend, including RedZone.
What are my streaming options for NFL games?
Paying for cable is the easiest solution, but not the cheapest. For cord-cutters looking to save some money, NFL football streaming options can get complicated, with games played across three different days and nights each week on different channels and streaming services. For the final weekend, games will be shown on ABC, CBS, Fox, NBC, ESPN and ESPN Plus. The majority of the action takes place on Sunday afternoon at 1 p.m. ET (10 a.m. PT) and 4 p.m. ET (1 p.m. PT), with most AFC teams on CBS and most NFC teams on Fox.
All five of the live TV streaming services carry ESPN and Fox, and all but Sling TV carry CBS. All but DirecTV Stream carry the NFL Network. For the games on CBS and Fox, keep in mind that not every service carries every local network, so check each one using the links below to make sure it carries CBS and Fox in your area.
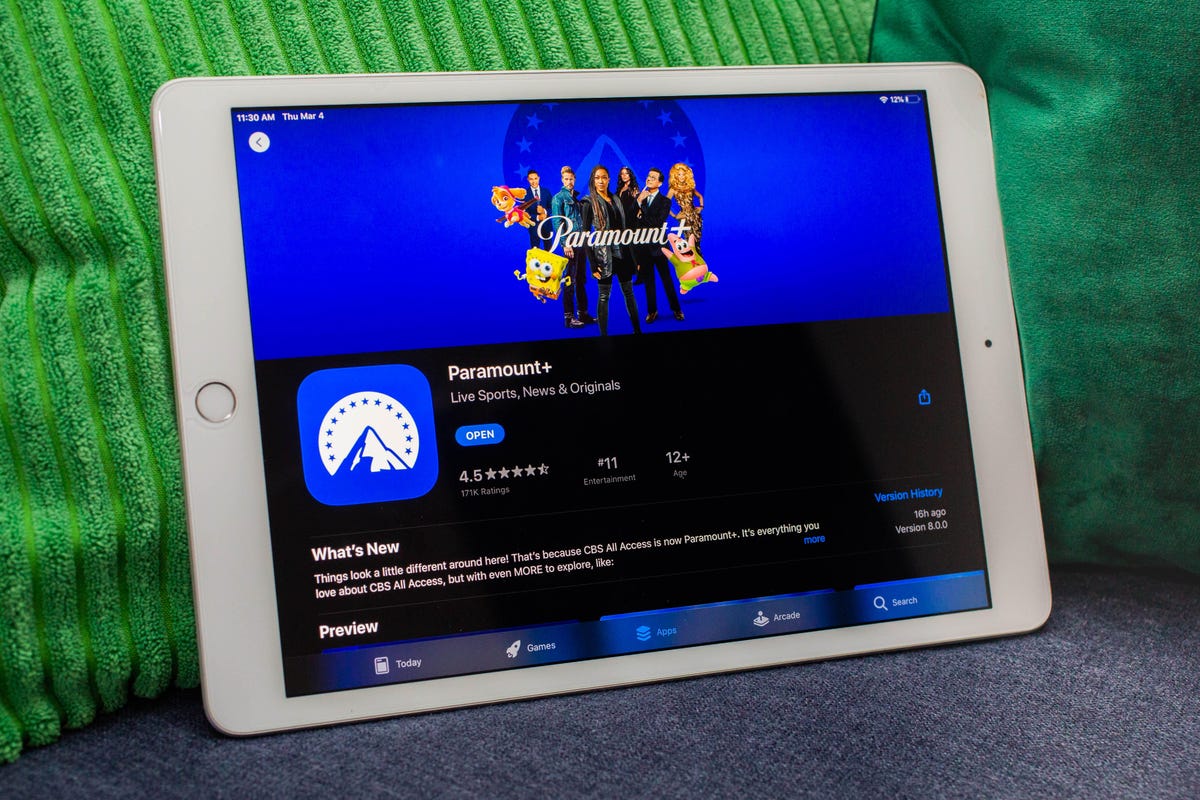
There are three other streaming services that cord-cutting NFL fans should consider. The paid Premium plan of Paramount Plus will show CBS games on Sundays, and the paid Premium plan of Peacock will show NBC’s broadcasts of Sunday Night Football. And ESPN Plus will show both games on the final Saturday of the season.
Wait, there’s one more streaming service to consider for the remainder of the year. Prior to the season, the NFL launched a new streaming service for watching games on your phone or tablet — no casting to your TV. In past years, you could do this for free with the Yahoo Sports app, but now you’ll need to pay $5 a month or $40 for the season for the NFL Plus subscription. With it, you’ll be able to watch every local game on Sunday and the national games on Sunday, Monday and Thursday nights as well as the playoffs and Super Bowl — again, only on your phone or tablet.
Lastly, there’s NFL RedZone, a channel that springs to life each fall and shows live NFL action during the Sunday afternoon games. It pops in and out of the live games and attempts to show each touchdown scored in each game. RedZone is available as an add-on on four of the five major live TV streaming services — all but DirecTV Stream.
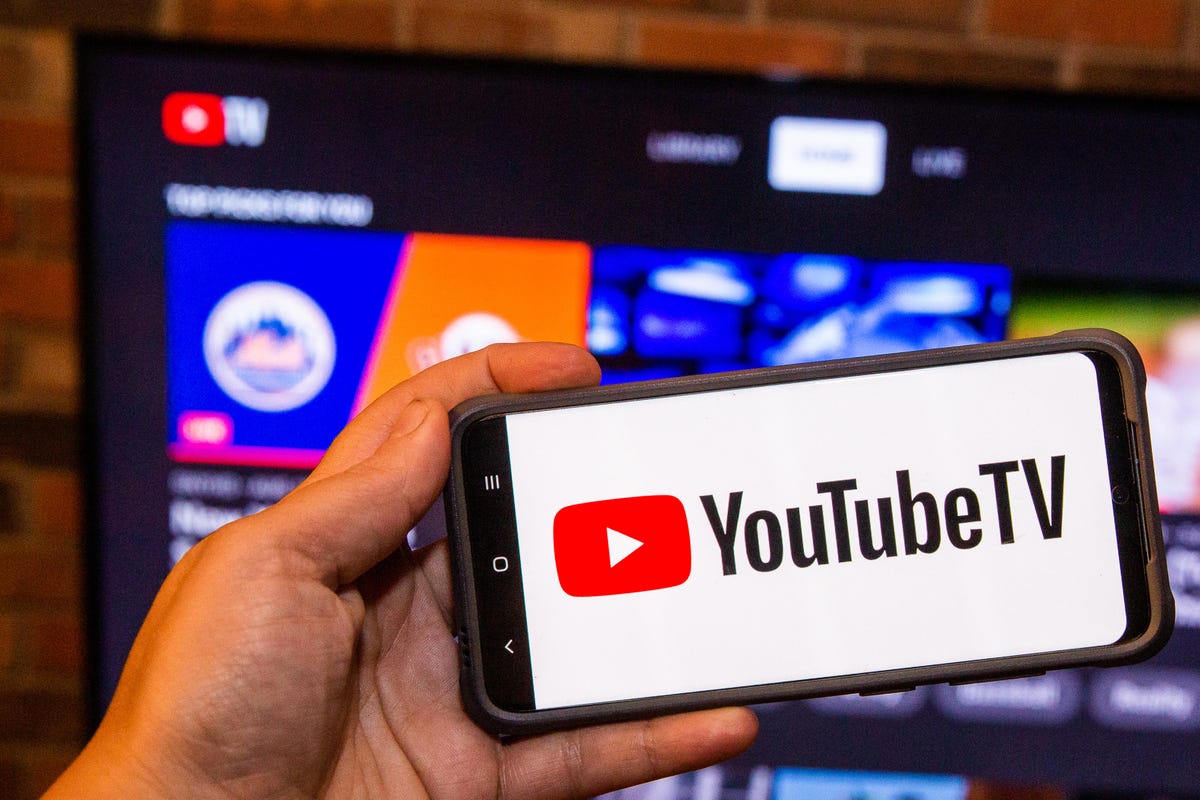
Best for everything: YouTube TV ($65)
Sarah Tew/CNET
Our pick from the last two years remains our go-to choice in 2022.
At $65 per month each, YouTube TV checks all the NFL boxes. Local channels CBS, NBC and Fox are included in many markets, and ESPN and the NFL Network are also included so you can watch Sundays and Monday nights. The next best options are FuboTV and Hulu Plus Live TV; both offer the same channels as YouTube TV for NFL fans, but for $70 a month.
Want to follow your fantasy team with RedZone? That’s available on all three services as part of an add-on. If you’re a YouTube TV subscriber, you can add the $11 per month Sports Plus add-on by clicking on your profile and going to Settings, then the Membership tab. FuboTV subscribers can go into My Profile and choose Manage Add-ons to get its $11-per-month Sports Plus with NFL RedZone offering. And Hulu users can now add RedZone for $10 per month with its Sports add-on.
Both YouTube TV and FuboTV allow three people to watch at once (Hulu allows two live streams) and all three have apps on nearly every mobile device and major streaming platform, including Amazon Fire TV, Google TV, Roku and Apple TV.
While all three are largely similar, we like YouTube TV for its superior DVR — unlimited storage compared with 30 hours on FuboTV and 50 hours on Hulu. We also like YouTube TV because it gives you an option to stream in 4K for an extra $20 a month. FuboTV does, too, with its $80-a-month Elite plan. Keep in mind that only Fox and NBC offer 4K NFL broadcasts; CBS and ESPN do not.
DirecTV Stream offers the main broadcast channels for NFL games, but it starts at $70 per month and lacks the NFL Network and RedZone.
Sling TV’s Orange and Blue plan for $55 a month gets you ESPN and the NFL Network, and, in select major markets, Fox and/or NBC, but you’ll still lack CBS. You can also add RedZone for $11 per month with the Sports Extra add-on.
The cheapest way to stream NFL RedZone
NFL RedZone shows every touchdown scored during the Sunday afternoon games each week.
Rob Carr/Getty Images
A frequent fan-favorite method of following all the NFL action on Sundays, RedZone is a way to catch every big play around the league. The cheapest road to RedZone is to get Sling TV Blue for $40 per month and add the $11 per month Sports Extra add-on.
This option can also be streamed on a host of devices including iOS, Android, Apple TV, Roku, Chromecast, Amazon Fire TV and web browsers.
Note: If you only subscribe to Sling’s Orange package you won’t be able to get RedZone in Sports Extra. Your base package needs to be either Sling Blue or its larger Sling Blue Plus Orange bundle for you to be able to get RedZone as an add-on. If you choose the latter, the Sports Extra add-on is more, $15 per month, as you will also get additional channels like the SEC Network, ACC Network and PAC 12 Network.
If you mainly plan to watch on a phone, you can also check out RedZone Mobile, which is in the NFL app. This is a separate subscription from NFL Plus and runs $35 for the season (which breaks down to around $7.78 per month for the roughly four-and-a-half months of regular season football). While this is one of the cheapest ways to get RedZone, be aware that — similar to NFL Plus — you will not be able to AirPlay or Chromecast it onto a larger screen and will need to watch on your phone.
Budget alternative for NFC fans in big cities: Sling Blue ($40) or antenna ($20 one-time)
Sarah Tew/CNET
Those looking to save some cash might want to check out Sling Blue for $40 a month. While it lacks ESPN, meaning you’ll miss out on Monday Night Football, in select markets you’ll be able to get Fox and NBC. The catch is that those markets are mainly in big cities, so if you live outside one of those areas, Sling Blue might not be for you.
You can also add RedZone through the company’s $11 per month Sports Extra add-on.
Fox broadcasts most NFC games on Sundays, while NBC has Sunday Night Football. CBS, which broadcasts the bulk of AFC games, isn’t included on Sling at all. But an antenna can fill those local channel gaps without a monthly charge.
Budget alternatives for AFC fans: Paramount Plus (or an antenna)
Sarah Tew/CNET
There are some apps that offer CBS’ slate of Sunday AFC games live, including Paramount Plus’ Premium tier for $10 per month. Depending on where you live, however, your local CBS station (and those NFL games) might not be available. CBS offers livestreaming services in many markets; you can check for yourself if your area has live CBS streaming here.
An antenna is another option for getting CBS. And as we mentioned above, an over-the-air antenna connected to your TV provides another option, no streaming or monthly fee required, as long as you have good reception.
What about Sunday Ticket?
For one more season, NFL Sunday Ticket is still largely limited to DirecTV satellite subscribers. While that is expected to change in 2023, those who live in buildings that can’t add a satellite dish can already get a streaming version to watch football starting at $294 for its To Go package for the season, or $396 for a Max package that includes the RedZone channel (a student version is also available at a discount). You can check your address on the Sunday Ticket site. Both packages have a one-week free trial.
With the season well past the halfway point, those prices have dropped to $220.47 for the To Go option and $281.97 for Max.
The problem here, however, is that even if you’re eligible, it doesn’t include local games. You can only watch Sunday games that aren’t being broadcast on CBS, Fox or NBC in your area. They also won’t be helpful come playoff time — as you’ll need your local stations and ESPN to catch all those games.
For $65 a month, you’ll get all the major football channels with YouTube TV. Plus, RedZone is available for an extra $11 per month. Plug in your ZIP code on YouTube TV’s welcome page to see which local networks are available in your area.
Sling TV’s $40-a-month Blue plan includes NBC, Fox and the NFL Network. Enter your address here to see which local channels are available where you live. NFL RedZone is also available for an extra $11 per month.
Note: This version of Sling TV does not include ESPN. For that, you’ll need to switch to the similarly priced Orange plan or go for the combined $55 per month Orange and Blue bundle. With the combined plan, RedZone is an extra $15 per month.
Those looking for CBS’ Sunday games will be able to stream them on Paramount Plus with its $10 per month Premium tier. You can check for yourself if your area has live CBS streaming here.
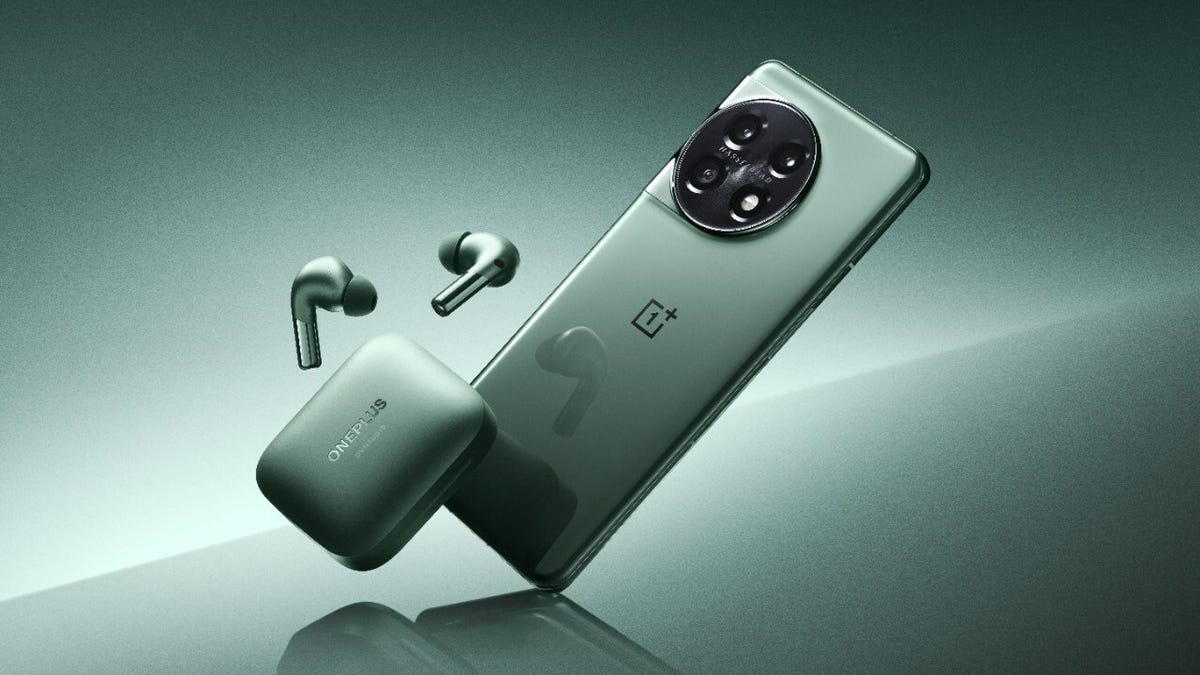
The new OnePlus 11 5G phone and the OnePlus Buds Pro 2 wireless earbuds are set to come out in China this Monday, roughly a month ahead of their global release, which is scheduled for Feb. 7. OnePlus announced the release dates Wednesday, while providing the specs and features for the company’s flagship phone. Prices, however, weren’t yet announced for the phone or the earbuds.
The Shenzhen-based company first teased the new models in December, revealing that the OnePlus 11 5G would bring back the Alert Slider, which is designed to make it easier to switch to silent or vibrate mode.
OnePlus’ flagship smartphone, the 11 5G is powered by Qualcomm’s Snapdragon 8 Gen 2 chipset, with 16GB of RAM and a 6.7-inch 2K AMOLED display with a refresh rate of 120Hz. The new iteration offers improvements to the phone’s processing speed and camera, which, after a brief absence, once again sports Hasselblad branding.
The 5,000-mAh dual-cell battery offers extended life and quick charging, thanks to Oppo’s 100W SuperVOOC charging technology. When the OnePlus 11 5G eventually gets its global release, we’ll have to see if the version heading to the US includes that charging speed. Last year’s OnePlus 10 Pro supported 80W charging internationally but was limited to a still very fast 65W in the US.
OnePlus’ new wireless earbuds, meanwhile, come with Smart Adaptive Noise Cancellation, which eliminates ambient noise up to 48dB, and a six-axis IMU sensor that monitors the position of your head and recalibrates the audio accordingly. OnePlus says the earbuds will provide 39 hours of music playback from the battery and charging case. The buds will also support connecting to two devices at once.
Both the 11 5G and Buds Pro 2 are scheduled to be available in China on Jan. 9 and worldwide starting Feb. 7.
OnePlus has hinted it’ll further expand its lineup in 2023. In India, where it already sells TVs and monitors, OnePlus has been promoting a mechanical keyboard.
HyperX, the gaming peripheral arm of HP, has announced a series of 3D-printed add-ons at CES to customize and personalize the brand’s keyboards, mice and headsets.
What makes this line interesting is that the keycaps and headphone stands are all produced on HP’s industrial color 3D printers. Using powdered nylon, they’re more advanced than the basic PLA plastic material used by most home 3D printers, but still nontoxic and environmentally friendly.
Now playing:Watch this:Get Cozy, or Dark, With New Custom Keycap Drops From…
2:36
At a pre-CES preview event, I saw a wide variety of styles, some of which were cute and cozy — HP calls this design language “Cozy.” Others had a dark fantasy theme, with lots of skulls and horns. Some of them, like replacement WASD keys — important for gaming — are mostly visual. Others turn keys into towering sculptures and are probably best left for function keys you don’t normally use, as they’re almost impossible to type on.
CNET/Lori Grunin
I also got to see some gaming headsets and mic add-ons. HyperX headsets can be adorned with either cute animal ears or creepy demon horns, and HyperX’s RGB microphones, which have multicolored lighting effects, can sit in special stands like a cozy anthropomorphic mushroom or a skull-and-bones pedestal.
These will be released in limited-edition waves, like other collectible drops, and the first release is a Cozy Cat keycap, which will be available for $20 from HyperX in January. Additional designs in new limited-production releases are planned throughout the year, some in collaboration with game streamers and other celebrities.
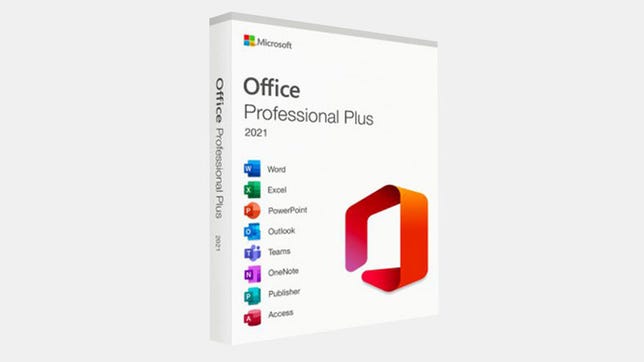
Microsoft Office is an essential suite of tools for both your professional and personal computing needs, but if you don’t already have access to its apps on your own computer, you may be annoyed at having to pay monthly to access them.
Rather than stumping up the full price directly at Microsoft, you can snag a lifetime license to Microsoft’s Word, Excel, PowerPoint, Outlook, Teams, OneNote, Publisher and Access for just $30 instead via StackSocial. That’s back at the lowest price we’ve ever seen, and a whopping 91% off the usual price of $349.
The offer applies to both the Windows and Mac version of the software, which means you can ditch the subscription (with recurring charges) that Microsoft offers for these essential apps. This popular deal has already sold out and been restocked a few times, but we don’t know how much longer it will remain in stock so be sure to grab one for yourself before it’s gone.
This wildly popular offer for a Microsoft Office lifetime license is still available for $30. It’s available for both Mac and Windows, so be sure to grab the right one for the computer that you use regularly.
While the price almost seems too good to be true, we tried it ourselves, and it worked like a charm. (The two big caveats: You get a single key — which only works on a single computer — and there’s no Microsoft OneDrive Cloud Storage included.) In fact, StackSocial has offered a version of this deal since the beginning of 2022. But this lowest-ever price won’t last, so take the plunge while you can.
Ready for the next premium app?
Check for promo codes with our CNET Shopping extension before installing the app on your phone.
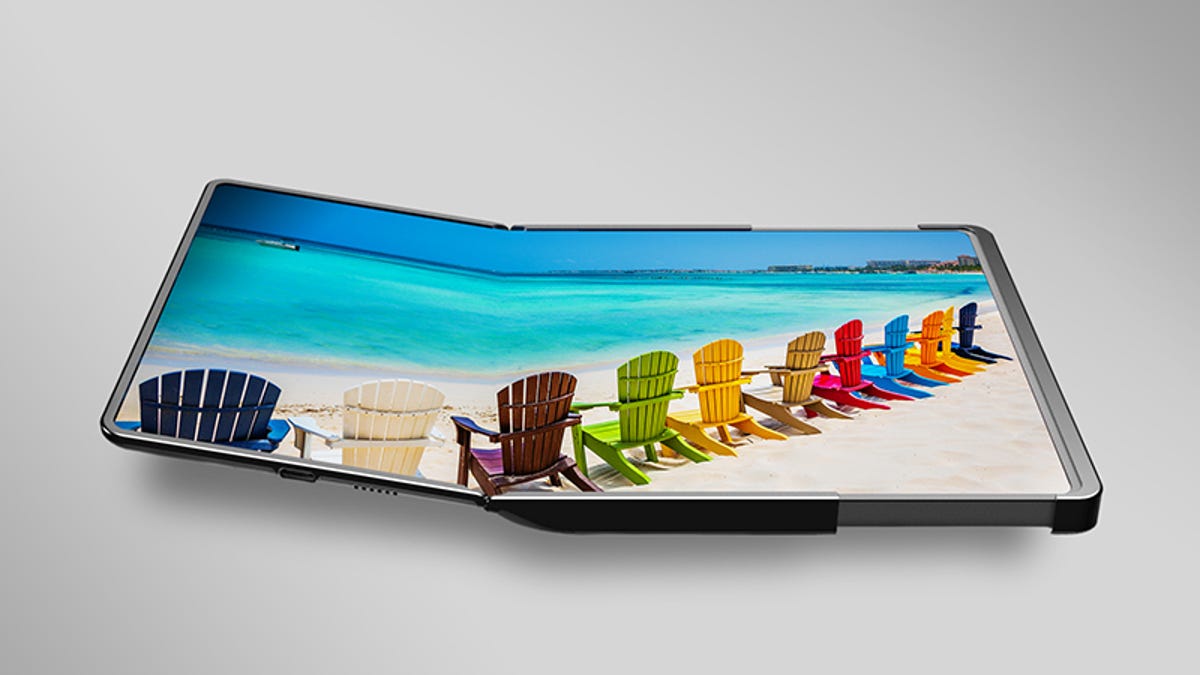
Mobile gadgets of the future should have the ability to fold, bend and slide, according to Samsung‘s vision. To convey this message, the company provided a small taste of its latest innovations in display designs, such as the slidable and foldable Flex Hybrid, at CES.
The new concept can switch between 10.5- and 12.4-inch screen sizes, thanks to its slidable and foldable design. The left side of the screen folds, while the right side slides. In addition to changing the screen’s size, the prototype can also jump between 4:3 and 16:10 aspect ratios. Although the Flex Hybrid is just a concept, it shows that Samsung is investigating what the next evolution of foldable phones and tablets might look like.
In a Jan. 3 press release, Samsung summarized its new display concepts, but the company plans to showcase the technologies during an exhibition this week at CES. The Flex Hybrid is just one of several mock-ups. There’s also a 17-inch slidable display, which was previewed in September, and a digital cockpit concept meant for self-driving vehicles.
Samsung’s Flex Hybrid concept folds on one side.
Samsung Display
Concepts like these don’t always translate into real products, but the Flex Hybrid feels most in line with Samsung’s current product strategy. Foldable phones only account for a sliver of the broader phone market, but the Galaxy Z Fold and Galaxy Z Flip have become well-established within Samsung’s mobile device lineup. The company’s early entry into the foldable phone space has given it an edge in terms of market share as Samsung accounts for more than 88% of the foldable smartphone market, according to Omdia.
TM Roh, the head of Samsung’s mobile experience business, suggested in an interview last August that the company is already thinking about what’s next after the Z Fold and Z Flip. The introduction of new concepts like the Flex Hybrid underscores that point.
“It’s everything you saw [at CES] plus more,” he said, referencing the display concepts Samsung showcased at CES last year.
But Samsung will also likely face more competition as foldable phones continue to evolve. Motorola and TCL have both shown rollable phone concepts of their own. Oppo’s Find N2, which the company introduced in late 2022, also shows a lot of promise thanks to its lightweight design, as my colleague Sareena Dayaram wrote.
Although Samsung is trying to make foldables a more regular fixture in our daily lives, its goal isn’t to replace regular phones.
“I would not see either just a bar-type, or just a foldable, or just another potentially new form factor dominating the market,” Roh also said during the previous interview. “But rather I see the different categories coexisting together.”
Now playing:Watch this:Galaxy Z Fold 4 Review: My Favorite Android Tablet
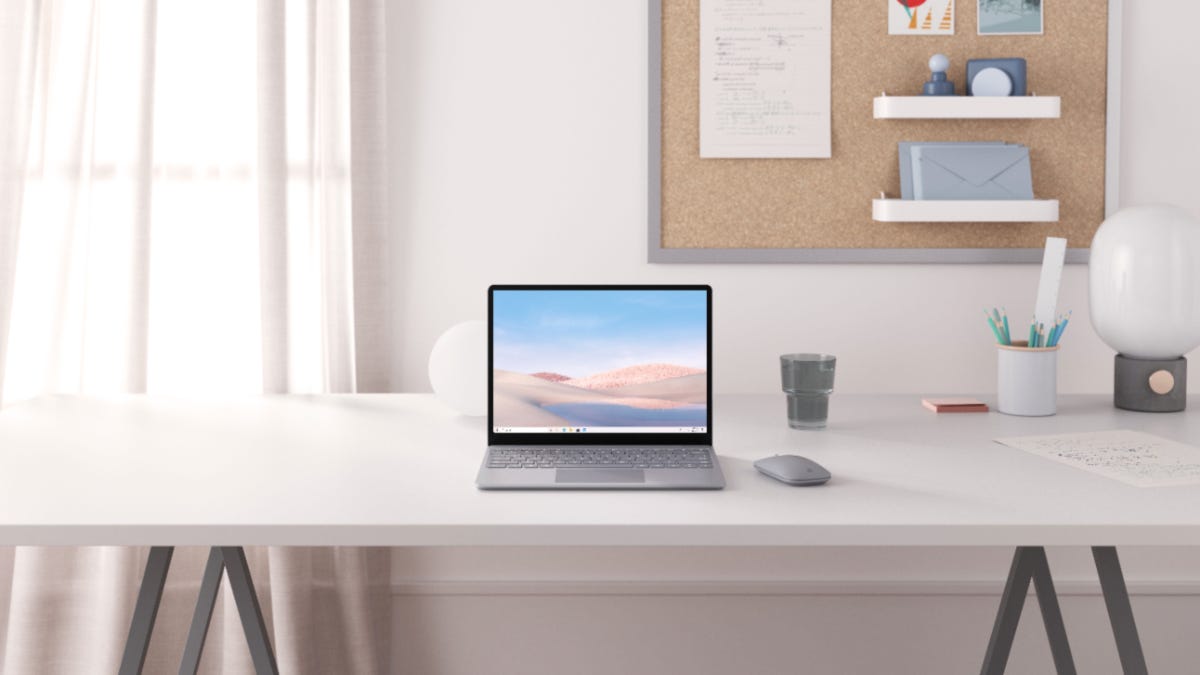
Finding a proper budget laptop can be trickier than you might think. Pricier models will have casual users paying for a whole packet of features they won’t use or need, but the most affordable models like Chromebooks are severely limited. According to CNET’s Dan Ackerman, the Microsoft Surface Laptop Go manages to strike an impressive balance between power and affordability for a truly great budget option. And right now, this budget-friendly model is even friendlier, because you can pick it up for 27% less than its retail price at Woot, bringing the cost of this base model down to just $255. This offer is only available for today, Jan. 4, while supplies last.
Like the “Go” name suggests, this laptop is designed to help you get work done when you’re on the move. It weighs just under 2.5 pounds and is only 0.6 inches thick, while still boasting up to 13 hours of battery life, making it perfect for long days on the road. It features a built-in 720p webcam and a 12.4-inch touchscreen display, so you can easily hop on any Zoom or other video calls throughout the day. It comes equipped with a 10th-gen Intel Core i5 processor and the Windows 10 Pro operating system (and supports Windows 11, if you want to upgrade). And while this laptop only has 4GB of RAM and 64GB of storage, it’ll handle light work and online browsing without a hitch. Plus, you can always utilize cloud storage options if you need a bit more space.