After a few good years of performance, your old iPhone just isn’t what it used to be. Maybe your display is cracked or your camera is foggy, but aside from the cosmetic damage, there might also be hardware issues, mostly from age, that are affecting how useful your phone is.
And if your iPhone is slow to charge, has trouble maintaining a charge throughout the day or is unexpectedly shutting down, you might have a battery health problem. It’s a common issue to have, because all batteries degrade over time, but is it enough of a problem to consider replacing your battery?
In this story, we’ll show you how to easily check whether or not you need to replace your iPhone battery, as well as what you can do to prolong its health.
Don’t miss: I Replaced My iPhone’s Battery Myself and You Can Too
How to check on your iPhone battery’s health
Your iPhone battery becomes less effective over time, but you could also have a faulty battery on a brand-new iPhone. To quickly check if there’s an issue with your battery health, go to Settings > Battery > Battery Health & Charging. If you’re running anything below iOS 16.1, the latter will appear as just Battery Health.
At the top, you’ll see the maximum capacity of your battery, which should be 100%, or close to it, if you have a relatively new iPhone.
However, what you want to look at is Peak Performance Capability and the sentence underneath that. If you see Your battery is currently supporting normal peak performance, you don’t have any recognized battery issues and you shouldn’t need a replacement.
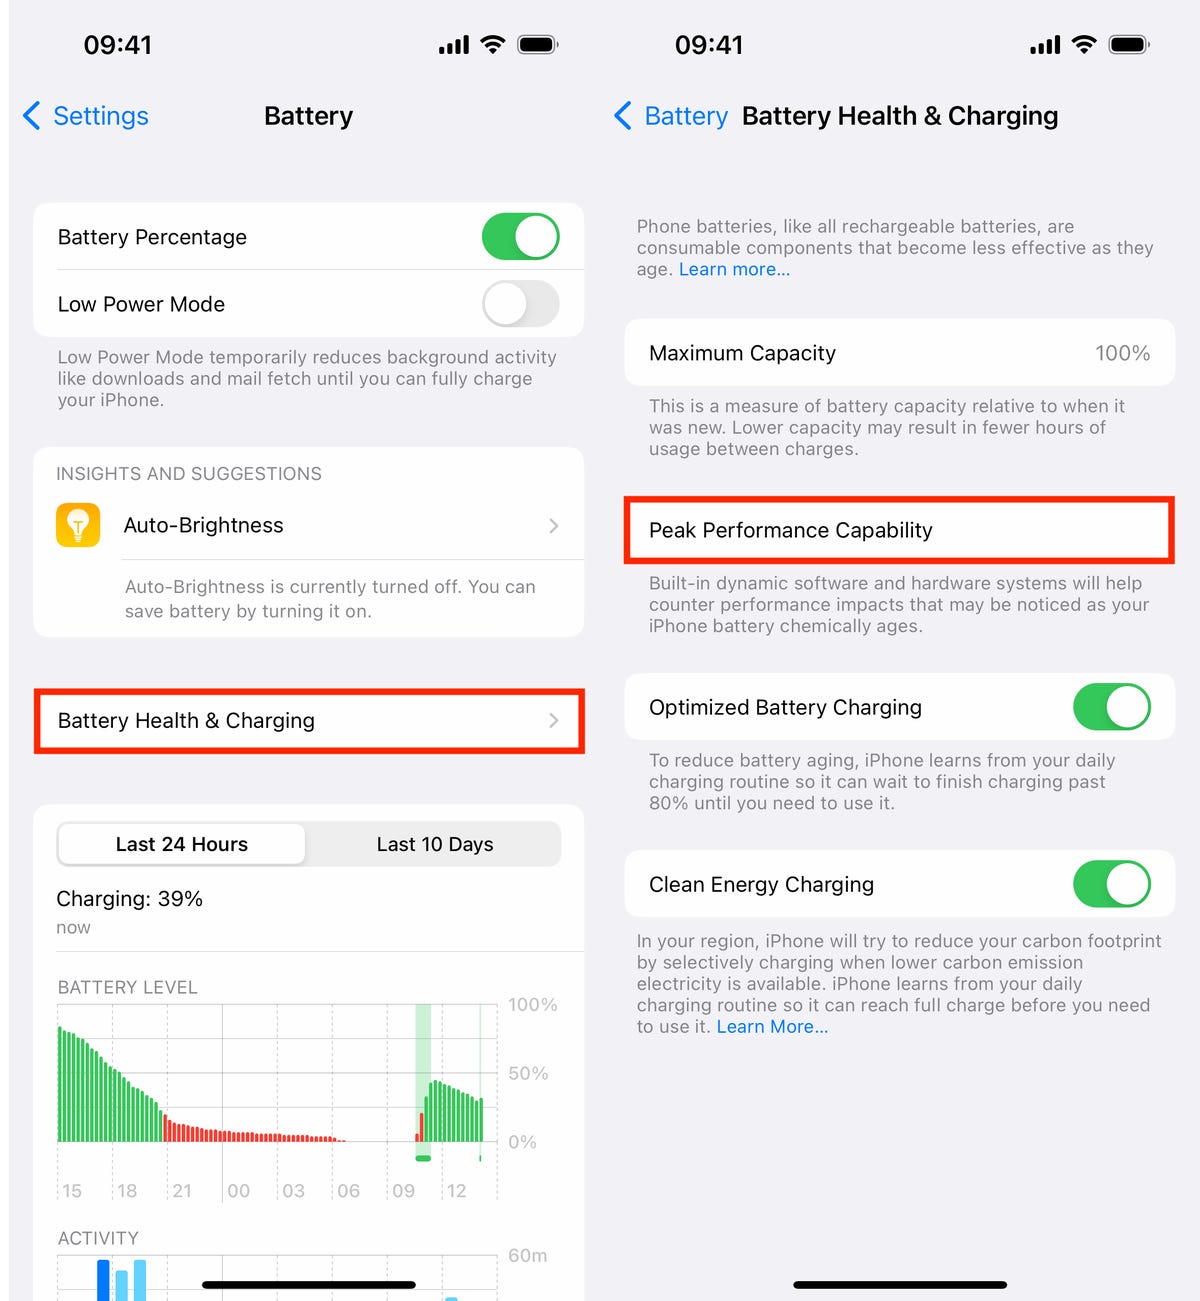
Check what it says under Peak Performance Capability to learn if you need to replace your battery.
screenshot by Nelson Aguilar/CNETDo you need to replace your iPhone battery?
If you see any of the following messages, you may need to replace your battery, or at the very least make an appointment with Apple or an authorized service provider to check your battery out:
- This iPhone has experienced an unexpected shutdown because the battery was unable to deliver the necessary peak power. Performance management has been applied to help prevent this from happening again/You have manually disabled performance management protections.
- This iPhone is unable to determine battery health. An Apple Authorized Service Provider can service the battery. More about service options.
- Your battery’s health is significantly degraded. An Apple Authorized Service Provider can replace the battery to restore full performance and capacity. More about service options.
Depending on whether you have insurance (third-party or AppleCare+) or not, you may not have to spend any money at all to replace your iPhone’s battery. If your iPhone is new, you have at least a one-year warranty to replace a defective battery. If you do not have insurance, Apple charges an estimated $49 to $99 to replace your battery. Additionally, you can check out the Apple Service Programs page to see any replacement or repair programs are available for your device.
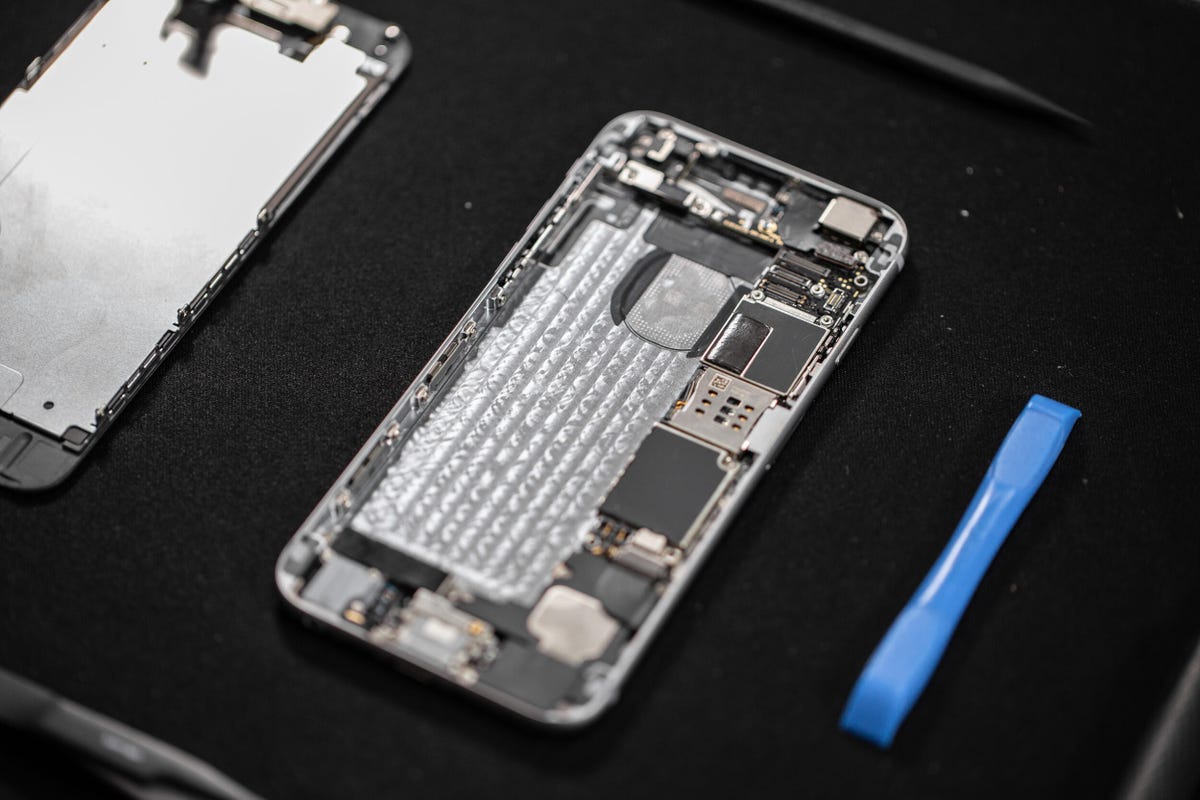
You can even replace your own battery.
Andrew Hoyle/CNETIs there anything you can do to prolong your iPhone battery’s life?
The quicker your go through your daily battery life, the quicker your battery’s overall lifespan degrades, so here are some tips to follow, according to Apple:
- Update to the latest software available.
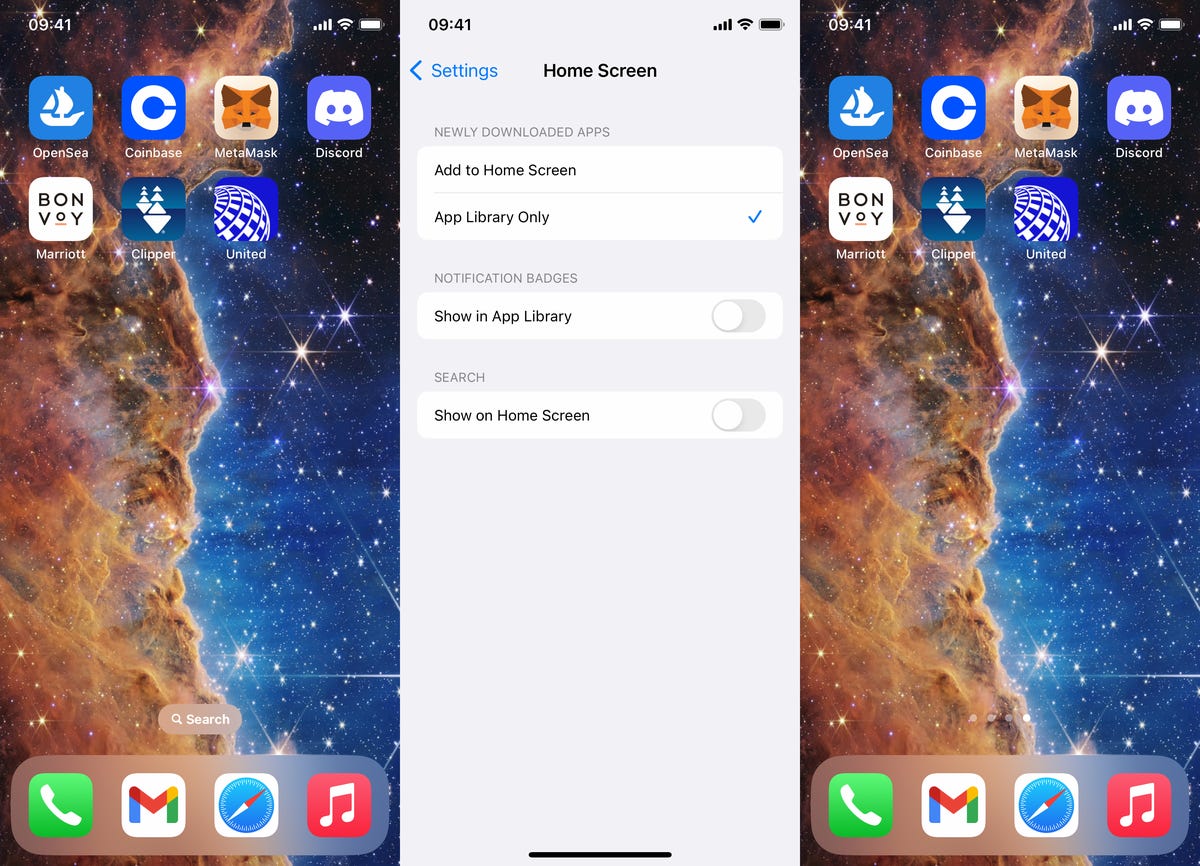
- Adjust your screen brightness (manually or automatically) as needed.
- Use Wi-Fi when available.
- Enable Low Power Mode as needed.
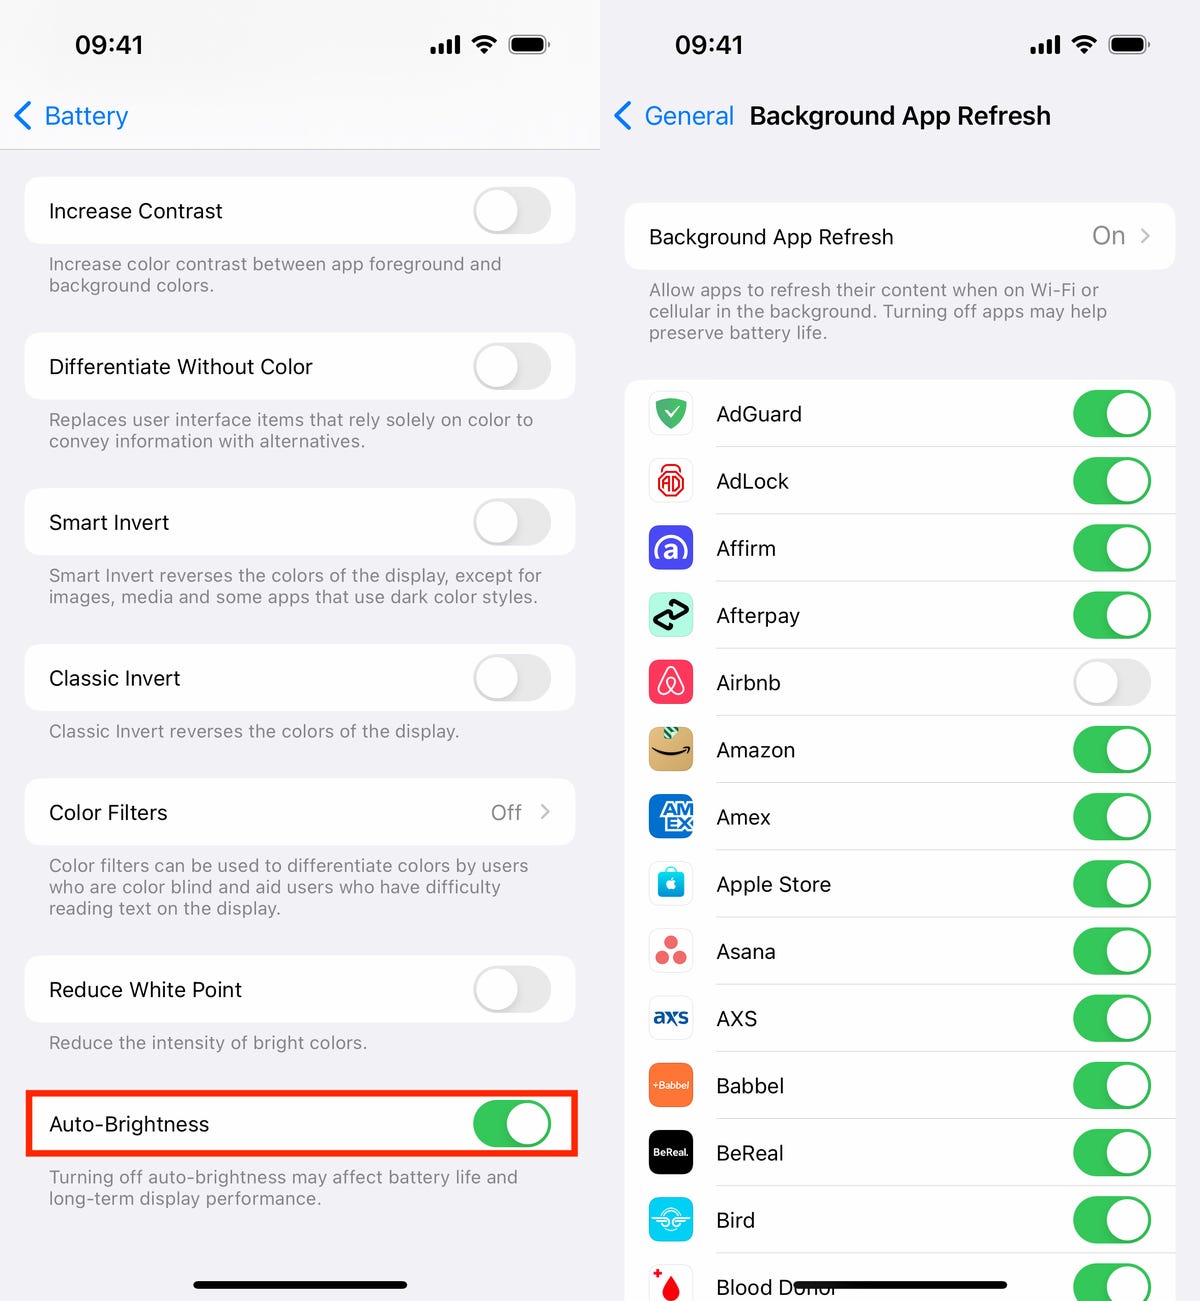
- Turn off Background App Refresh (overall or an on a per-app basis).
- Turn off Location Services (overall or on a per-app basis).
- Turn off Allow Notifications.
- Turn on Airplane Mode when applicable.
- When you charge your phone with your computer, make sure your computer is plugged in.

You can toggle on auto-brightness (left) and prevent apps from refreshing in the background (right) to improve your battery life and lifespan.
screenshot by Nelson Aguilar/CNETIf you need more battery-saving tips for your iPhone, check out 8 ways to improve iPhone battery life, 2 iOS 16 features to disable to save battery and what happens if you keep your iPhone in Low Power Mode all the time.