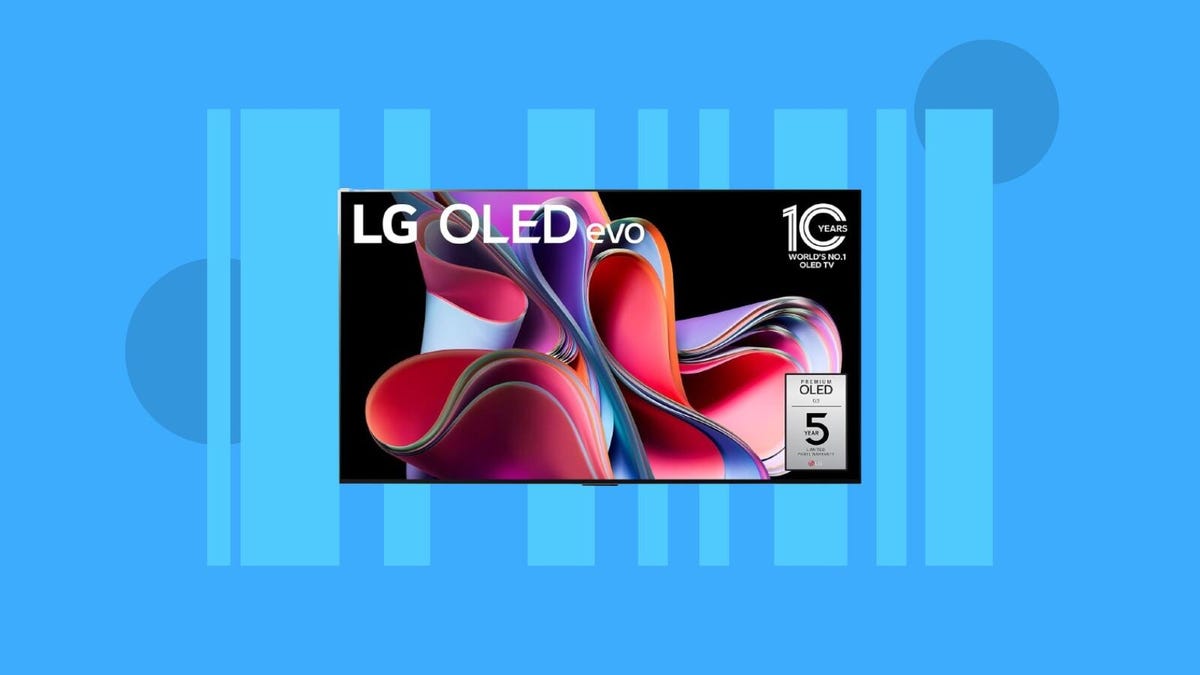
OLED is going after gamers with a vengeance in 2024, which means the ability to refresh screens faster than before. That’s a key consideration for esports titles and other games that hit high frame rates and need superfast response, such as Overwatch, League of Legends and Call of Duty. Samsung recently announced its 32-inch 4K 240Hz and 27-inch QHD 360Hz OLED monitors and panels, and LG revealed its dual-refresh 32-inch UltraGear 32 OLED, which does 4K at 240Hz and 1080p at 480Hz.
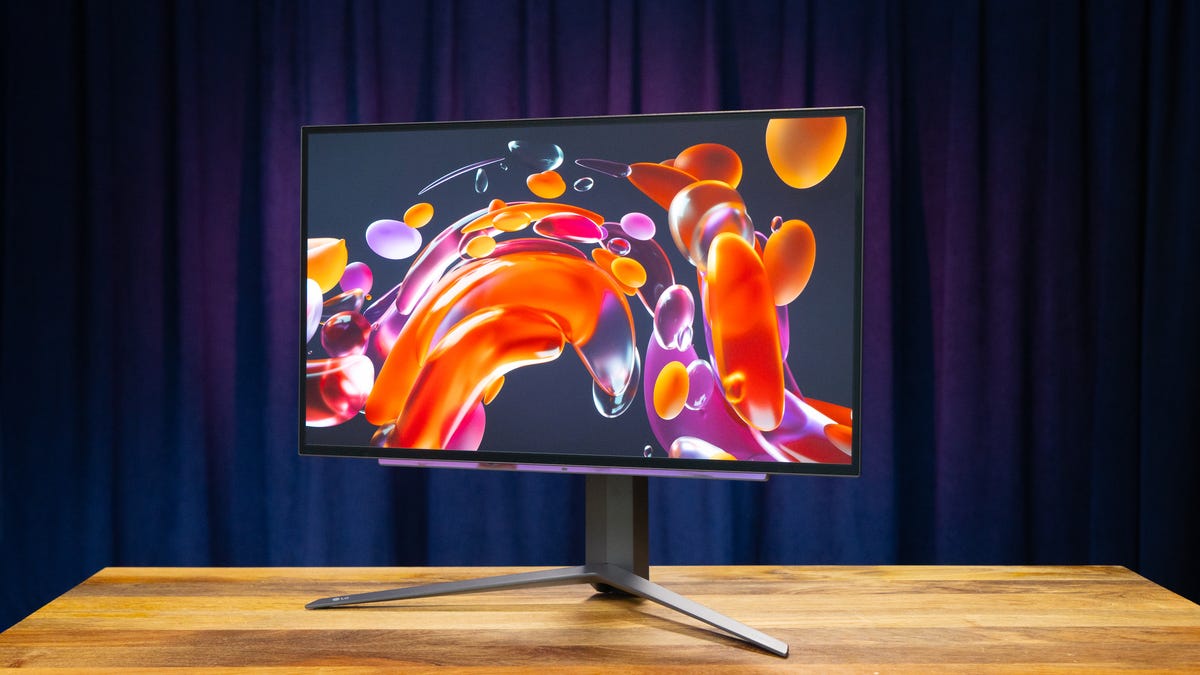
Now LG Display, the division responsible for the screens that go into the company’s monitors and TVs, is already leapfrogging itself with the announcement that it’s slated to launch a 27-inch, 480Hz 2,560×1,440 OLED gaming display by the end of June 2024. (I reviewed last year’s 240Hz 4K model.)
Other technologies have hit as high as 540Hz, but those have meant big compromises in resolution (limited to 1080p) and quality (color gamut, viewing angle and more). OLED has the large color gamut (95% to 100% P3), almost infinite contrast, and fast pixel refresh of 0.03ms (meaning individual pixels can change color or brightness really quickly), which a lot of gamers (and the rest of us!) crave. But so far OLED has been limited to relatively low refresh rates of around 120-144Hz, though they’ve hit as high as 240Hz.
OLED’s relatively low maximum brightness combined with near perfect blacks makes it great for eking out more detail in extremely bright areas. But one drawback — and one of my biggest peeves about OLED — is that there’s little tonal range in the dark and dim areas, and the colors in the darkest areas can skew quite a bit. This can be especially true at high speeds, because OLED doesn’t use a backlight; each pixel emits its own light, and when it’s changing states that fast it doesn’t have a lot of time to get bright.
Samsung’s Quantum Dot technology (the “QD” in QD-OLED) expands the tonal range in the dark areas and addresses some color issues, but that isn’t an option for competitor LG, the inventor of OLED. Starting with the 480Hz panel, the company is rolling out a microlens array layer that it brands as Meta Technology. On-pixel microlenses are used to concentrate light; for example, on camera sensors, they gather and focus more incoming light onto each pixel for greater sensitivity, especially in low-light conditions.
LG is using the array to concentrate the light coming off each pixel and increase brightness, which means there should be a broader range of tones available to render the darker areas of an image. Imagine if you could see what’s lurking in the shadows of your favorite horror game without washing out the rest of the scene. Shudder. It improves OLED’s suitability for photo and video editing as well.
LG also says the microlenses “minimize external light reflections during darker scenes,” which isn’t an inherent feature of microlenses. But it’s probable that by reducing the amount of dead black on the screen by expanding the shadows it reduces the amount of mirrorlike zones, something Samsung is addressing by using a matte finish instead.